
Below-Slab Vapor Barrier Installation
A below-slab vapor barrier is a heavy polyethylene sheet placed directly under a new concrete floor to stop soil moisture from migrating up through the slab. It belongs under every basement, garage, shop, and slab-on-grade floor that will be conditioned, finished, or coated, and Grandview specifies and installs it under a Utah B100 general contractor license.
When a below-slab vapor barrier is the right scope
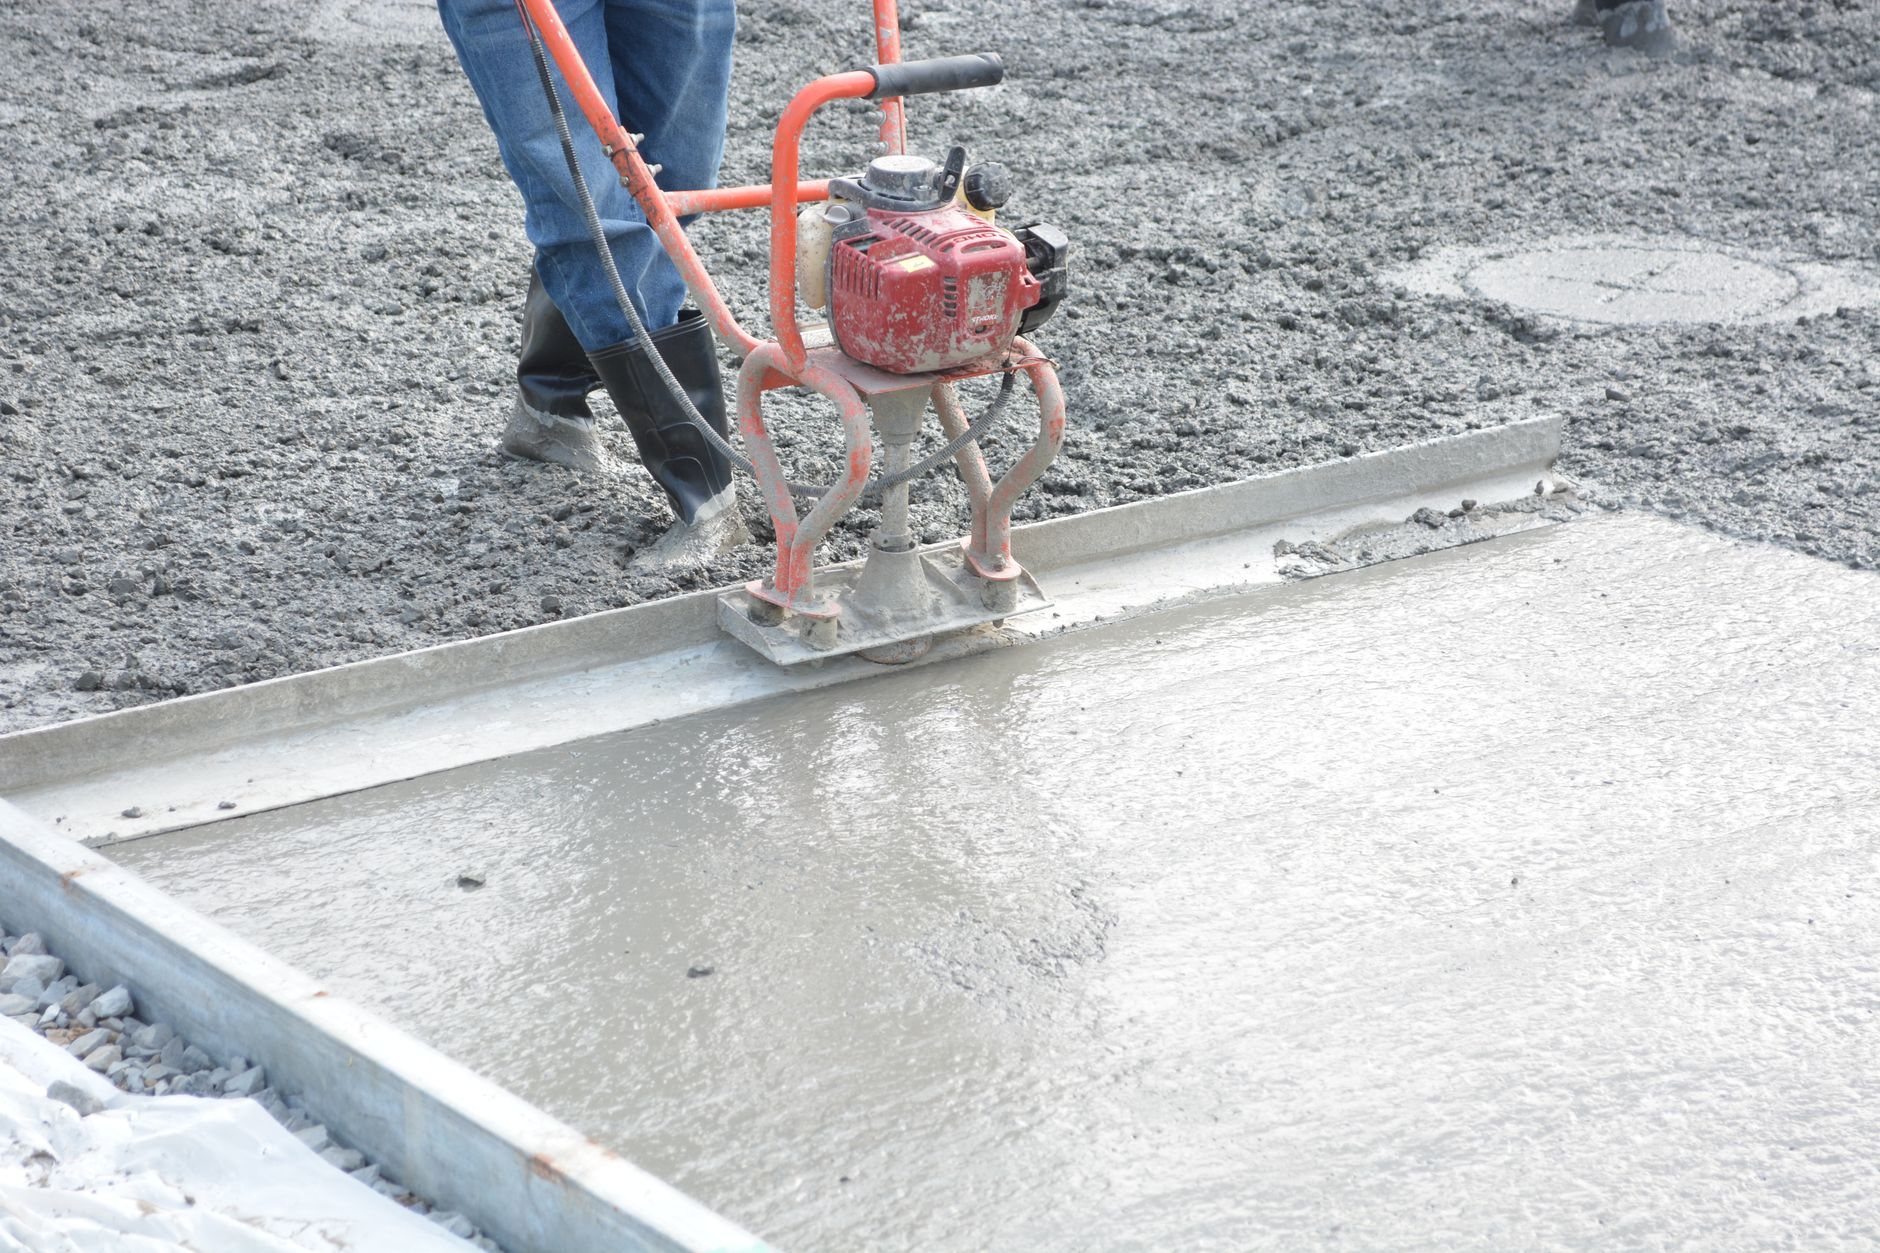
This is a new-slab detail. It goes in between base prep and the pour, so the time to plan it is while planning a slab-on-grade foundation, a new basement floor, a garage or shop slab, an addition, or a full slab replacement. It is one layer of the waterproofing and drainage system within our site, structure & envelope work.
It is not a fix for a slab that’s already wet. An existing floor that sweats or wicks is an interior basement waterproofing question, often paired with a sump pump to drop the water table under the floor. For a dirt crawl space, the equivalent is crawl space encapsulation, a liner over soil rather than under concrete. And the membrane outside the basement wall is foundation waterproofing, solving a separate problem: liquid water against the wall, not vapor through the floor.
The distinction people miss is vapor versus water. Drains and sumps handle water you can see. The barrier handles the moisture you can’t: soil under a slab sits near 100 percent relative humidity year-round, in a dry climate as much as a wet one. Utah’s dry air fools owners into skipping this layer, and the slab pays for it later as cupped flooring and failed epoxy.
What goes under the slab, and in what order
Current Utah-adopted code requires a vapor retarder under concrete floors in conditioned space, 6-mil polyethylene minimum. We don’t install 6-mil. Thin poly tears under rebar chairs and boot traffic, and once punctured it’s a drainage mat. Our standard is 10- or 15-mil Class A sheet rated under ASTM E1745, the spec flooring and coating manufacturers reference before honoring a warranty.
- Base first. Compacted structural fill, then a clean granular capillary break. On the collapsible bench soils and expansive clays common from Alpine to Draper, base prep matters more than the sheet above it; the barrier blocks vapor, it does not stabilize soil.
- Barrier in direct contact with the concrete. No sand blotter layer between sheet and slab. Sand on top of the sheet traps water the slab then wicks for years. The sheet goes on the base, the concrete goes on the sheet.
- Seams and penetrations. Laps of at least six inches, sealed with the manufacturer’s tape. Every plumbing stub, column, conduit, and radon riser gets a pipe boot or taped collar. This is where cheap installs fail: open seams and unsealed pipes perform like no barrier at all.
- Perimeter termination. The sheet turns up at the foundation wall or runs to the top of the footing and is sealed there, so vapor can’t bypass the field of the slab at its edges.
- Protect, inspect, pour. Rebar and mesh go in on flat-based chairs. We walk the sheet before the truck arrives and patch every puncture, then place and cure the slab with care, since a sealed barrier means the concrete dries from one face only.
Does a vapor barrier help with radon in Utah?
It is one required piece of a radon-resistant slab, not the whole system. The Utah Geological Survey maps elevated radon potential across most of the Wasatch Front, and the EPA recommends radon-resistant construction in high-potential areas: a gas-permeable gravel layer, a sealed membrane over it, and a vent pipe that can take a fan later. The membrane is this barrier. If you plan a radon rough-in, we seal the riser through the sheet during the same installation rather than cutting a finished floor later.
The same sheet decides what you can put on the slab. Epoxy and polyaspartic coatings, luxury vinyl plank, and engineered wood all carry moisture-emission limits, and installers test before laying a floor. A slab on a sealed 15-mil barrier passes. One on torn 6-mil or bare gravel often doesn’t, and the fix is a topical mitigation coating costing many times what the barrier did. If an epoxy floor or a finished basement is in the plan, say so before the pour. It changes the spec.
What a below-slab vapor barrier costs in Utah
As a ballpark planning number, a 10- to 15-mil Class A barrier with taped seams and sealed penetrations runs roughly $0.30 to $0.80 per square foot installed under a new slab. It is usually the least expensive line on a slab budget and the one with the longest consequences. What moves the price: sheet thickness (15-mil costs more and tolerates job-site abuse far better), the number of penetrations to boot, a chopped-up footprint versus a clean rectangle, and whether a radon riser is sealed in. Lots near Utah Lake and the Jordan River corridor, where the water table sits close to the surface, usually pair the barrier with a thicker capillary break, which adds cost on the base side rather than the sheet.
The expensive version is the retrofit. Adding a barrier under an existing floor means removing and replacing the slab, and the demolition and new concrete dwarf the sheet. If you’re replacing a slab anyway, the barrier is nearly free to add. If the slab is sound and only damp, interior drainage is usually the better-value answer.
Questions we actually get
Is 6-mil poly good enough under a basement slab?
It meets the code minimum, and that’s the kindest thing to say about it. Six-mil sheet punctures under rebar chairs and foot traffic. For any floor that will be finished, coated, or lived on, we specify 10- or 15-mil Class A sheet with taped seams and booted penetrations.
Should the vapor barrier go directly under the concrete or under a sand layer?
Directly under the concrete. The sand-blotter method was meant to reduce slab curling, but it traps water above the barrier that the slab draws up for years. Current industry guidance puts the sheet in direct contact with the slab and manages curling through mix design and curing.
Can you add a vapor barrier under my existing slab?
Only by removing the slab. There is no way to slide a sheet under existing concrete. If the floor is coming out anyway for a basement remodel, plumbing relocation, or settlement repair, adding the barrier is cheap. If the slab is sound, interior drainage and a sump usually solve dampness for far less than replacement.
Does the barrier need to be inspected before the pour?
Most Utah County and Salt Lake County cities look at the vapor retarder during the under-slab inspection, often alongside under-slab plumbing. We schedule the pour after that inspection clears and walk every seam and penetration ourselves first. Confirm the exact sequence with your city’s building department.
Tell us what you’re working on
We reply within a couple of hours during business hours, a day at most. You’ll get a straight read on scope, sequence, and budget before anyone commits to anything.