
Siding trim, J-channel & corner detailing in Utah
Trim decides whether a sided wall drains and whether the corners read straight from the street. Grandview installs and replaces corner boards, J-channel, window and door surrounds, band boards, and frieze trim across Utah County and the Salt Lake Valley under a B100 general contractor license, inside a siding scope or as its own repair.
When trim and corner work is its own project
If you’re replacing the walls, the siding installation scope already includes trim. Three situations make it a stand-alone job.
Trim that failed before the siding did. Corner boards and casings take water through end grain and top edges, so a corner board can be soft from the ground up while the lap boards behind it are fine.
Vinyl hung with the wrong accessories: missing J-channel at window heads, corner posts nailed tight so they buckled, under-sill trim skipped so cut panels pull loose in wind. The panels can usually stay; the accessories are the fix.
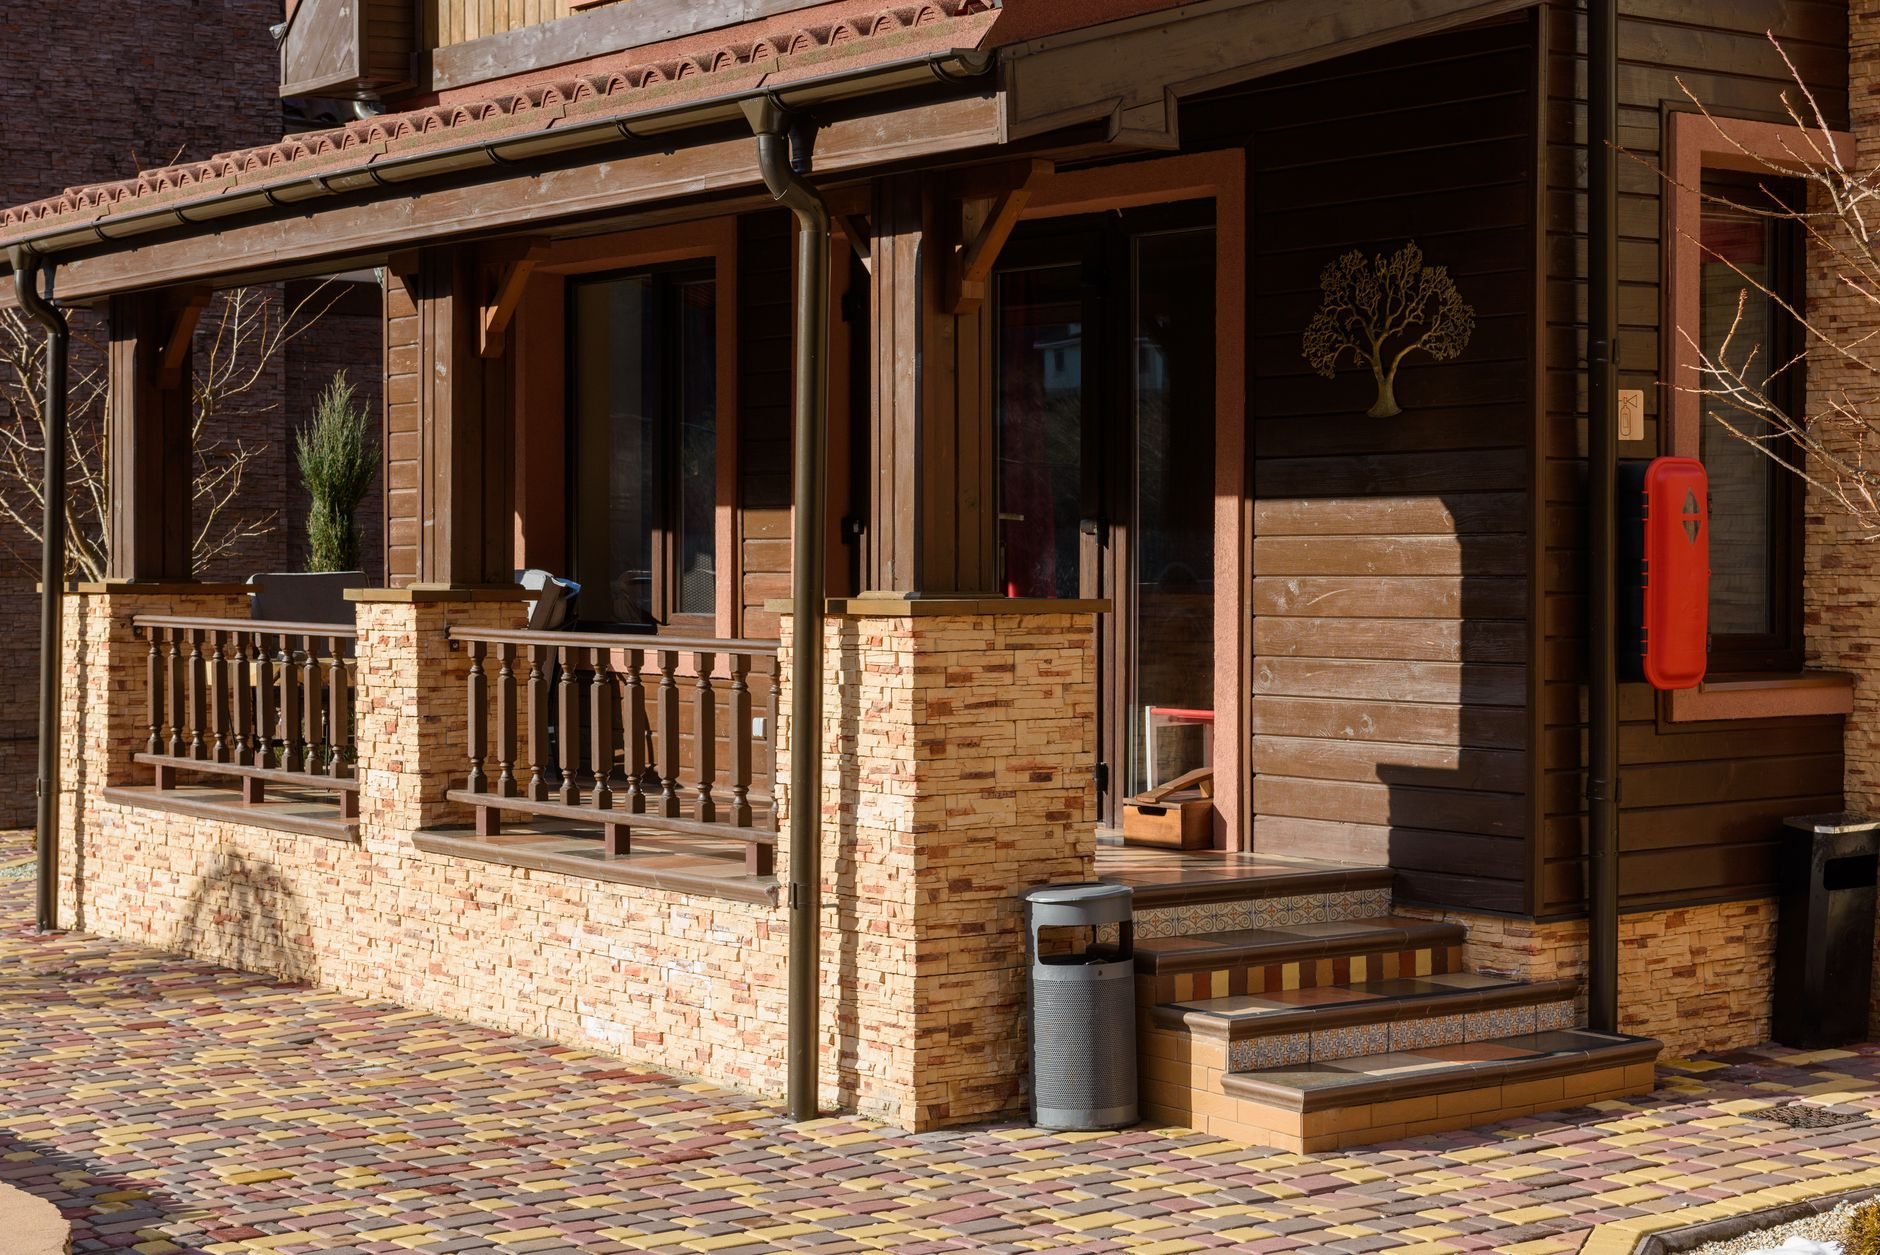
A transition that was never detailed: siding meeting stone veneer, a deck ledger, or an addition tying into an older exterior. That’s where leaks start.
Neighboring scopes: soffit and fascia covers the roof edge above the frieze board, siding repair covers the field panels, fiber cement lap and vinyl lap siding cover full-wall replacement with trim included, and painting new trim runs through trim and fascia painting.
What the work involves
The order never changes: flashing first, trim second, siding third, sealant last. The method depends on the cladding.
Fiber cement and engineered wood trim
Corners are two 4/4 or 5/4 trim boards, the wider lapping the narrower so both faces show the same width. Trim goes on before the lap boards, over the weather-resistive barrier, fastened into framing. Siding butts to it with a consistent 1/8-inch gap that gets a paintable elastomeric sealant rated for movement. Every window and door head gets a Z-flashing on top of the casing with the joint above left open so water drains out instead of pooling; band boards get the same flashing on their top edge. Every field cut is primed before it goes on; that is most of the difference between trim that lasts and trim that swells. James Hardie’s published installation requirements set the gap, fastener, and clearance details we follow on its products. Cedar trim gets back-primed and stainless fasteners; cellular PVC never rots but moves with temperature, so long runs get glued joints.
Vinyl J-channel, corner posts, and accessories
Vinyl runs the opposite way: the accessories are the trim, and the panels slide into them. Starter strip, corner posts hung from their uppermost slot so they can expand downward, J-channel around every opening, under-sill trim wherever a cut panel loses its locking edge, F-channel at the soffit. The detail that separates a dry wall from a wet one is how J-channel laps at window corners: the head channel is cut long and a tab is bent down over the side channels, so water lands on the face of the side pieces rather than behind them. Panels are cut to leave about a quarter inch in the channel, more in cold weather, because vinyl grows across a Utah summer-to-winter swing and a tight panel buckles by July. J-channel is not flashing; it only works when the window flashing behind it was done right, so we check that first.
How a trim and corner job runs
- Walk the corners and openings. We probe trim at the bottom and at every joint and check for head flashing. Good work should not require detective work, but old work sometimes does.
- Set the scope. Material, corner style, which openings get re-flashed, the paint path, and a discovery allowance for rot. Priced in writing.
- Remove and flash. Old trim comes off, the barrier is patched and lapped, head flashing goes in before anything new is fastened.
- Trim and tie in. Corners, casings, bands, and frieze go on plumb; siding is re-engaged or re-cut to the new gap.
- Seal and close out. Joints tooled, cut ends primed, paint scheduled around temperature.
In canyon-wind corridors on the bench we face-nail corner posts at the bottom hem and fasten J-channel tighter than the box recommends. A corner post is the first thing a gust gets a hand under.
What does siding trim installation cost in Utah?
As ballpark planning numbers only: replacing fiber cement, engineered wood, or PVC trim along the Wasatch Front typically runs about $8–$16 per linear foot installed, before paint. Vinyl J-channel, corner post, and accessory replacement runs roughly $3–$7 per linear foot. A window or door surround with new head flashing usually lands around $250–$600 per opening. Ranges to plan with, not quotes.
- Opening count. Trim is priced by windows, doors, and corners, not wall area.
- What’s behind the corner. Rot under sills and at corner bottoms is the usual discovery; an allowance keeps the number from moving mid-job.
- Sealant spec. Trim joints here live through more than a hundred freeze–thaw cycles a year. A movement-rated sealant decides how the job looks in year eight.
If a window is aging on the same clock as its casing, replacement windows go in cleanest while the trim is off; the rest of the shell lives under site, structure & envelope. You can confirm our B100 license at dopl.utah.gov before anyone sets a ladder against your house.
Questions we actually get
Can you replace just the trim and leave the siding?
Usually, if the siding is sound. On fiber cement and wood, corner boards and casings come off and go back on without disturbing the field boards beyond re-cutting the gap. On vinyl, corner posts and J-channel swap out after releasing a few panels. The caveat is color: new trim shows against weathered siding until it’s painted to match.
Is J-channel the same thing as window flashing?
No. J-channel is a receiving trim that hides panel ends and gives them room to move; it sheds water only if it’s lapped correctly. The self-adhered membrane and head flashing behind it, tied into the weather-resistive barrier, keep water out of the wall. We check for that flashing before reinstalling any channel and add it if it was never there.
Why did my vinyl corner posts buckle?
Almost always because they were nailed tight or fastened in the center of every slot. Corner posts hang from the top of the uppermost slot and are fastened loosely below so the post can expand downward with heat. Vinyl moves noticeably across a Utah summer-to-winter range, and a post that can’t move pushes outward instead.
Tell us what your corners are doing
Send a photo of the worst corner or window and we’ll tell you whether it’s a trim fix or a wall problem. We reply within a couple of hours during business hours, a day at most, with a straight read on scope and budget before anyone commits to anything.