
Subfloor Prep & Leveling in Utah County
Subfloor prep and leveling is the work between tear-out and the new floor: grinding high spots, pouring self-leveling underlayment into low ones, patching, re-fastening, and testing a slab for moisture before anything is glued or floated over it. Grandview Contractors performs it across Utah County and Salt Lake County under a Utah DOPL B100 general contractor license, as a priced line item rather than an install-day surprise.
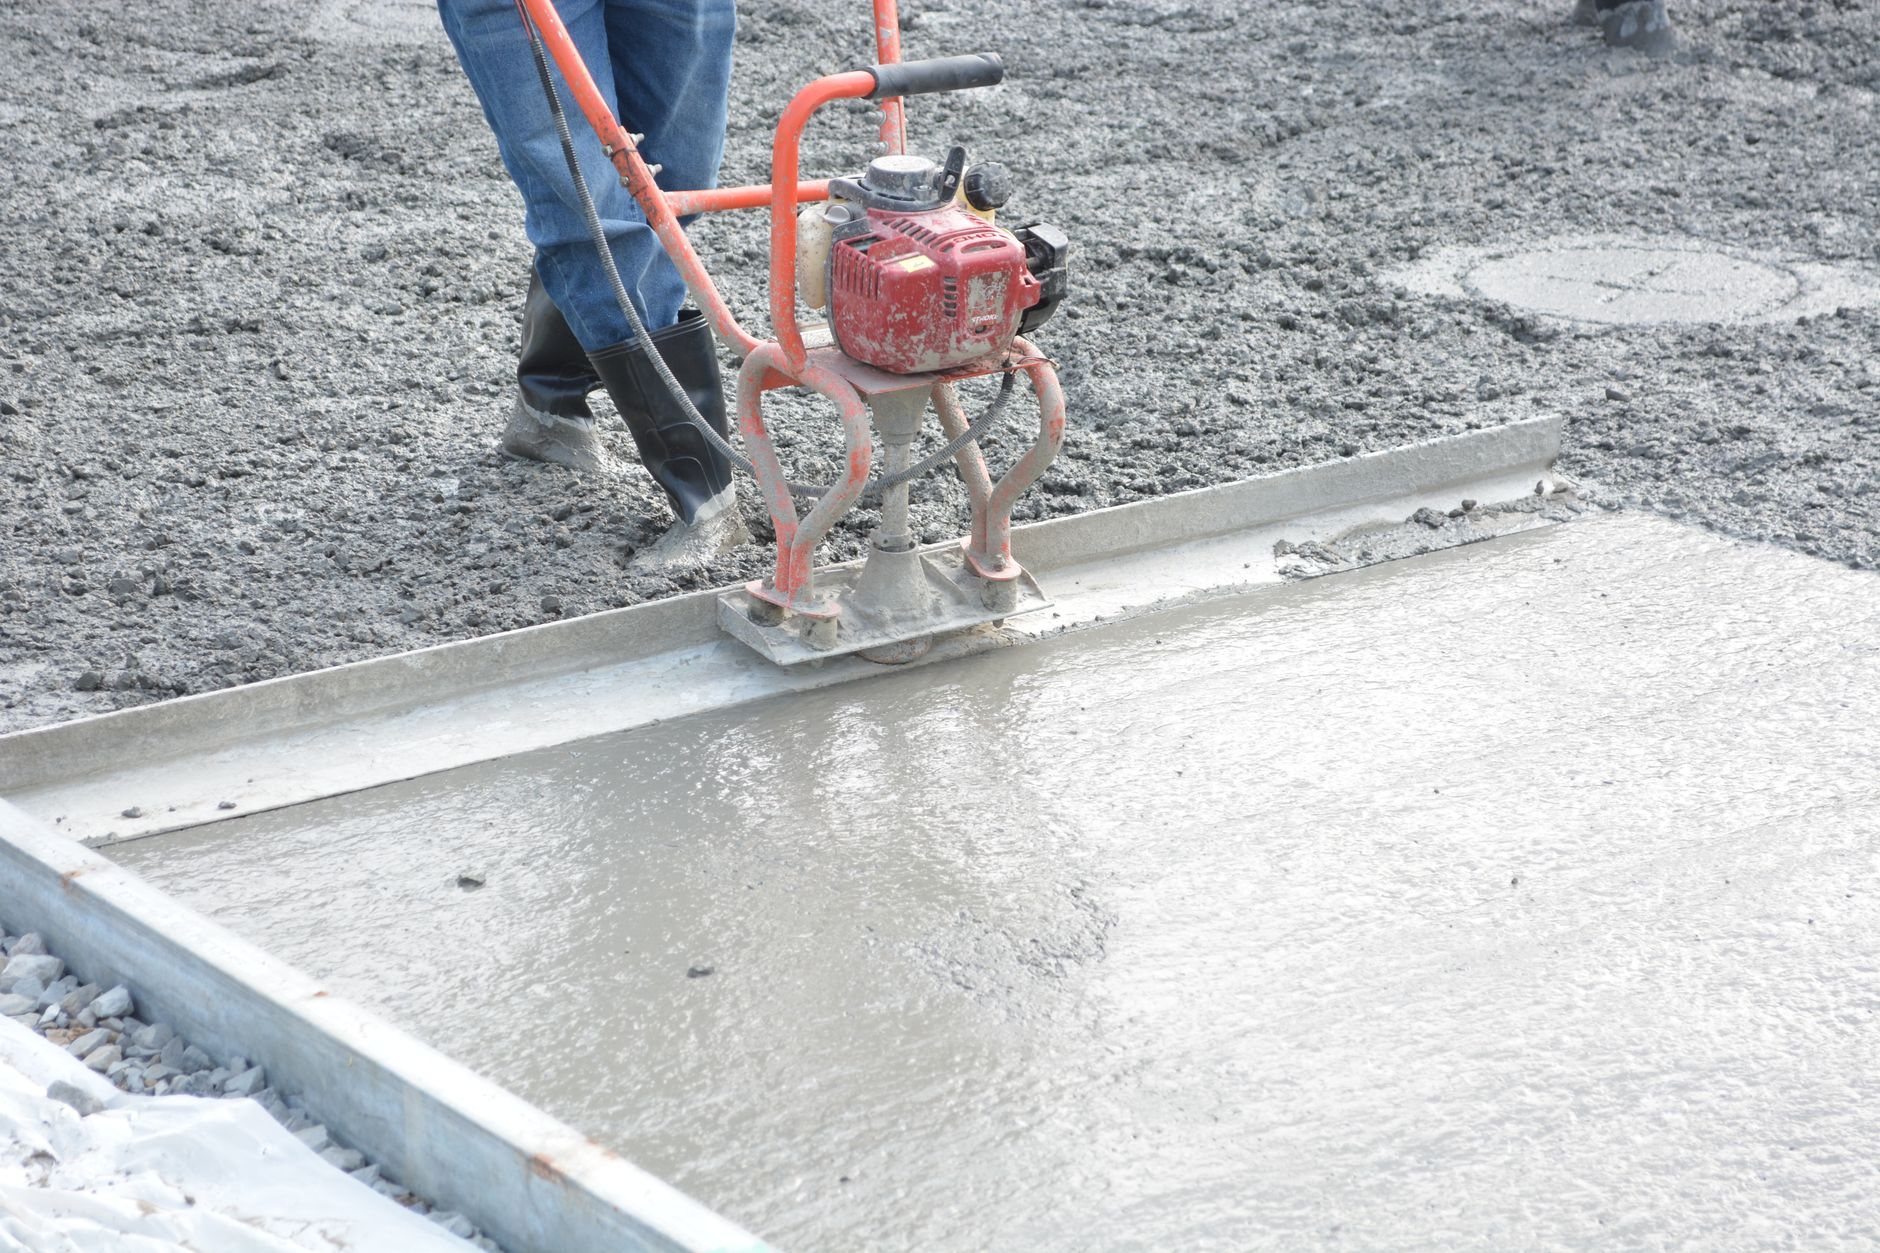
When subfloor leveling is its own job, not a line in someone else’s
Every floor we install gets a flatness and moisture check as part of flooring installation. This page is for when the check fails: a 3/8-inch hump at an old wall line, a slab that reads wet, a bedroom that bounces, or a kitchen whose layers of particleboard and vinyl come out and leave craters. That is a prep project with its own material, cure time, and cost.
It pairs most often with floor removal, because what’s under the old floor is unknown until it’s gone. It matters most for floors that forgive the least: luxury vinyl plank telegraphs every ridge through a few millimeters of vinyl, laminate clicks apart over dips, and solid hardwood needs a subfloor sound enough to hold a cleat. For basement slabs, the engineered hardwood page covers vapor barriers; this page covers getting the slab ready for whichever product you pick. It’s also a standalone job when a flooring-only installer has told you the subfloor is “not their problem.”
What subfloor prep involves on a slab versus a wood frame
The target is the same everywhere: flat to the manufacturer’s published tolerance, usually about 3/16 inch over 10 feet, and dry enough to meet their moisture limit. How you get there depends on what you’re standing on.
- Map it. We sweep a 10-foot straightedge across the room on a grid and mark highs and lows. On slabs we set in-situ relative-humidity probes; a surface meter alone isn’t enough to decide a glue-down floor.
- Grind the highs. A diamond cup grinder with dust extraction takes down humps, old thinset ridges, and the lip at a cold joint. Grinding is always cheaper than building everything else up to meet a high spot.
- Prime and pour the lows. Cementitious self-leveling underlayment goes over a matched primer, mixed to spec and gauge-raked to depth. Deep areas get a deep-fill product first; edges get a feather-edge patch. Pours walk the next day and take flooring within a few days, depending on depth.
- Treat moisture before it treats your floor. If the slab reads above the flooring’s limit, the fix is a mitigation epoxy or mitigation-rated primer under the leveler, not hoping it dries by install day.
- On wood framing, fix the structure first. Soft spots and bounce are a joist problem. We sister or block joists where deflection is excessive, screw down loose sheathing to kill squeaks, replace delaminated panels, and add 1/4- or 1/2-inch underlayment plywood where the surface is sound but rough. Leveler over wood needs lath or a wood-rated product on a rigid base, or it cracks.
- Verify and document. Straightedge again, moisture again, readings and photos in your file. Good work should not require detective work.
Why Utah subfloors need more leveling than the catalog assumes
Three local conditions keep this scope busy. First, much of the Wasatch Front sits on expansive clay or collapsible bench soils, documented by the Utah Geological Survey. Slabs on those soils heave and settle unevenly, so a basement that was flat in 1998 can carry a 1/2-inch crown today. A leveler fixes the floor; if the slab is still moving, it’s a foundation repair question first.
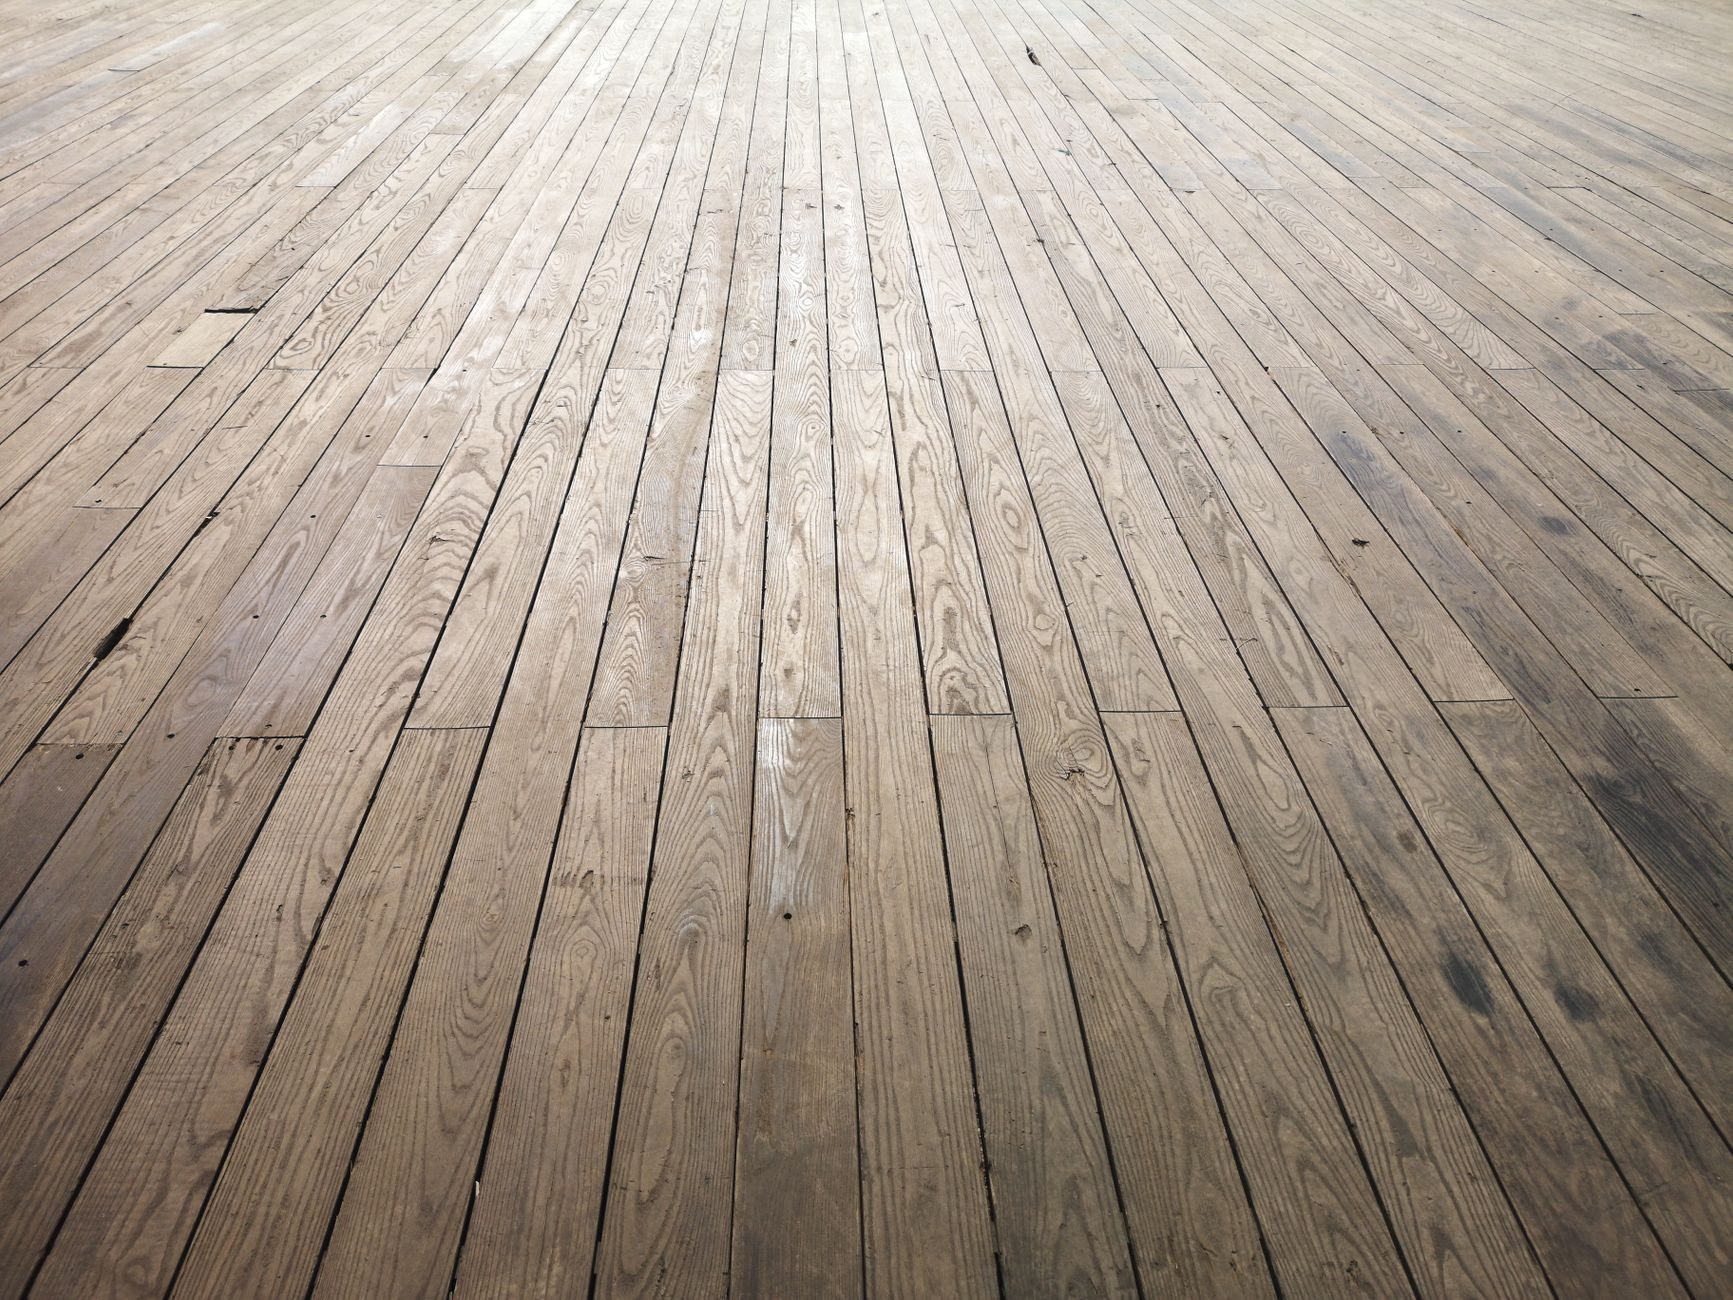
Second, the dry climate. Wood subfloors shrink and loosen over decades of single-digit winter humidity, and the nails that held them in 1975 don’t hold now. Squeaks in older Provo and Salt Lake homes are nearly always fastener creep, not structural failure, and screws fix them cheaply.
Third, basements. Below-grade slabs here sit on high-radon geology, and the EPA recommends testing for radon before finishing. If mitigation is needed, the sub-slab suction point goes in before we seal the slab under a leveler, not after; our basement finishing scope sequences it that way on purpose.
What does subfloor leveling cost in Utah?
Depth and square footage drive it. As ballpark planning numbers, grinding and patching a mostly-sound slab runs roughly $1 to $3 per square foot over the affected area; a self-leveling pour runs roughly $3 to $7 per square foot at a 1/4- to 1/2-inch average depth, climbing with each added inch because the material is the cost; mitigation epoxy adds roughly $2 to $4 per square foot where required. Wood-frame work prices by the fix: re-screwing is cheap, a plywood overlay is moderate, sistered joists are priced per joist. Ranges for budgeting, not quotes; we measure first, then give you a line-item estimate.
Down: an open plan, a slab that only needs grinding, room for a mixing station. Up: many small rooms and doorways, deep fills, a height stack-up that fights doors and appliances, and ledges where the leveler has to be stopped and formed.
Questions we actually get
How flat does a subfloor need to be for LVP or laminate?
Most manufacturers specify roughly 3/16 inch over 10 feet; some are tighter at 1/8 inch over 6 feet. That’s flat, not level: a floor can slope with the house and still pass. We check the product’s installation sheet before we prep, because the warranty follows that number.
Can self-leveling compound go over a wood subfloor?
Yes, with conditions. The framing must be stiff enough not to flex and crack the pour, the panels screwed tight and primed, and the leveler rated for wood or installed over metal lath. On bouncy floors we address the joists first, because no leveler survives on a subfloor that moves.
How long after a leveling pour can the floor go down?
Light foot traffic is typically fine the next day. Finish flooring usually waits one to three days for a shallow pour, longer for deep fills, and glue-down products wait until the leveler’s moisture reading meets the adhesive’s limit. We build that cure time into the schedule.
Do I need moisture mitigation on my basement slab?
Only if the readings say so. We set in-situ relative-humidity probes and compare the result to the flooring and adhesive limits. Many Utah slabs pass; the ones that fail tend to be older, lack a vapor retarder beneath them, or sit on wet bench soils. Mitigating first costs a fraction of replacing a failed floor.
Tell us what you’re working on
We reply within a couple of hours during business hours — a day at most. You’ll get a straight read on scope, sequence, and budget before anyone commits to anything. Subfloor prep is one scope within our renovation services, under a B100 license you can verify at dopl.utah.gov.