
Fiber cement vertical panel siding
Fiber cement vertical panel siding is flat 4-foot-wide cementitious sheet hung in large fields, with the joints between sheets treated as a visible grid — sealed, battened behind, or opened into aluminum reveals. Grandview installs it across Utah County under a Utah B100 general contractor license, with the joint layout and flashing that decide whether a flat wall stays dry.
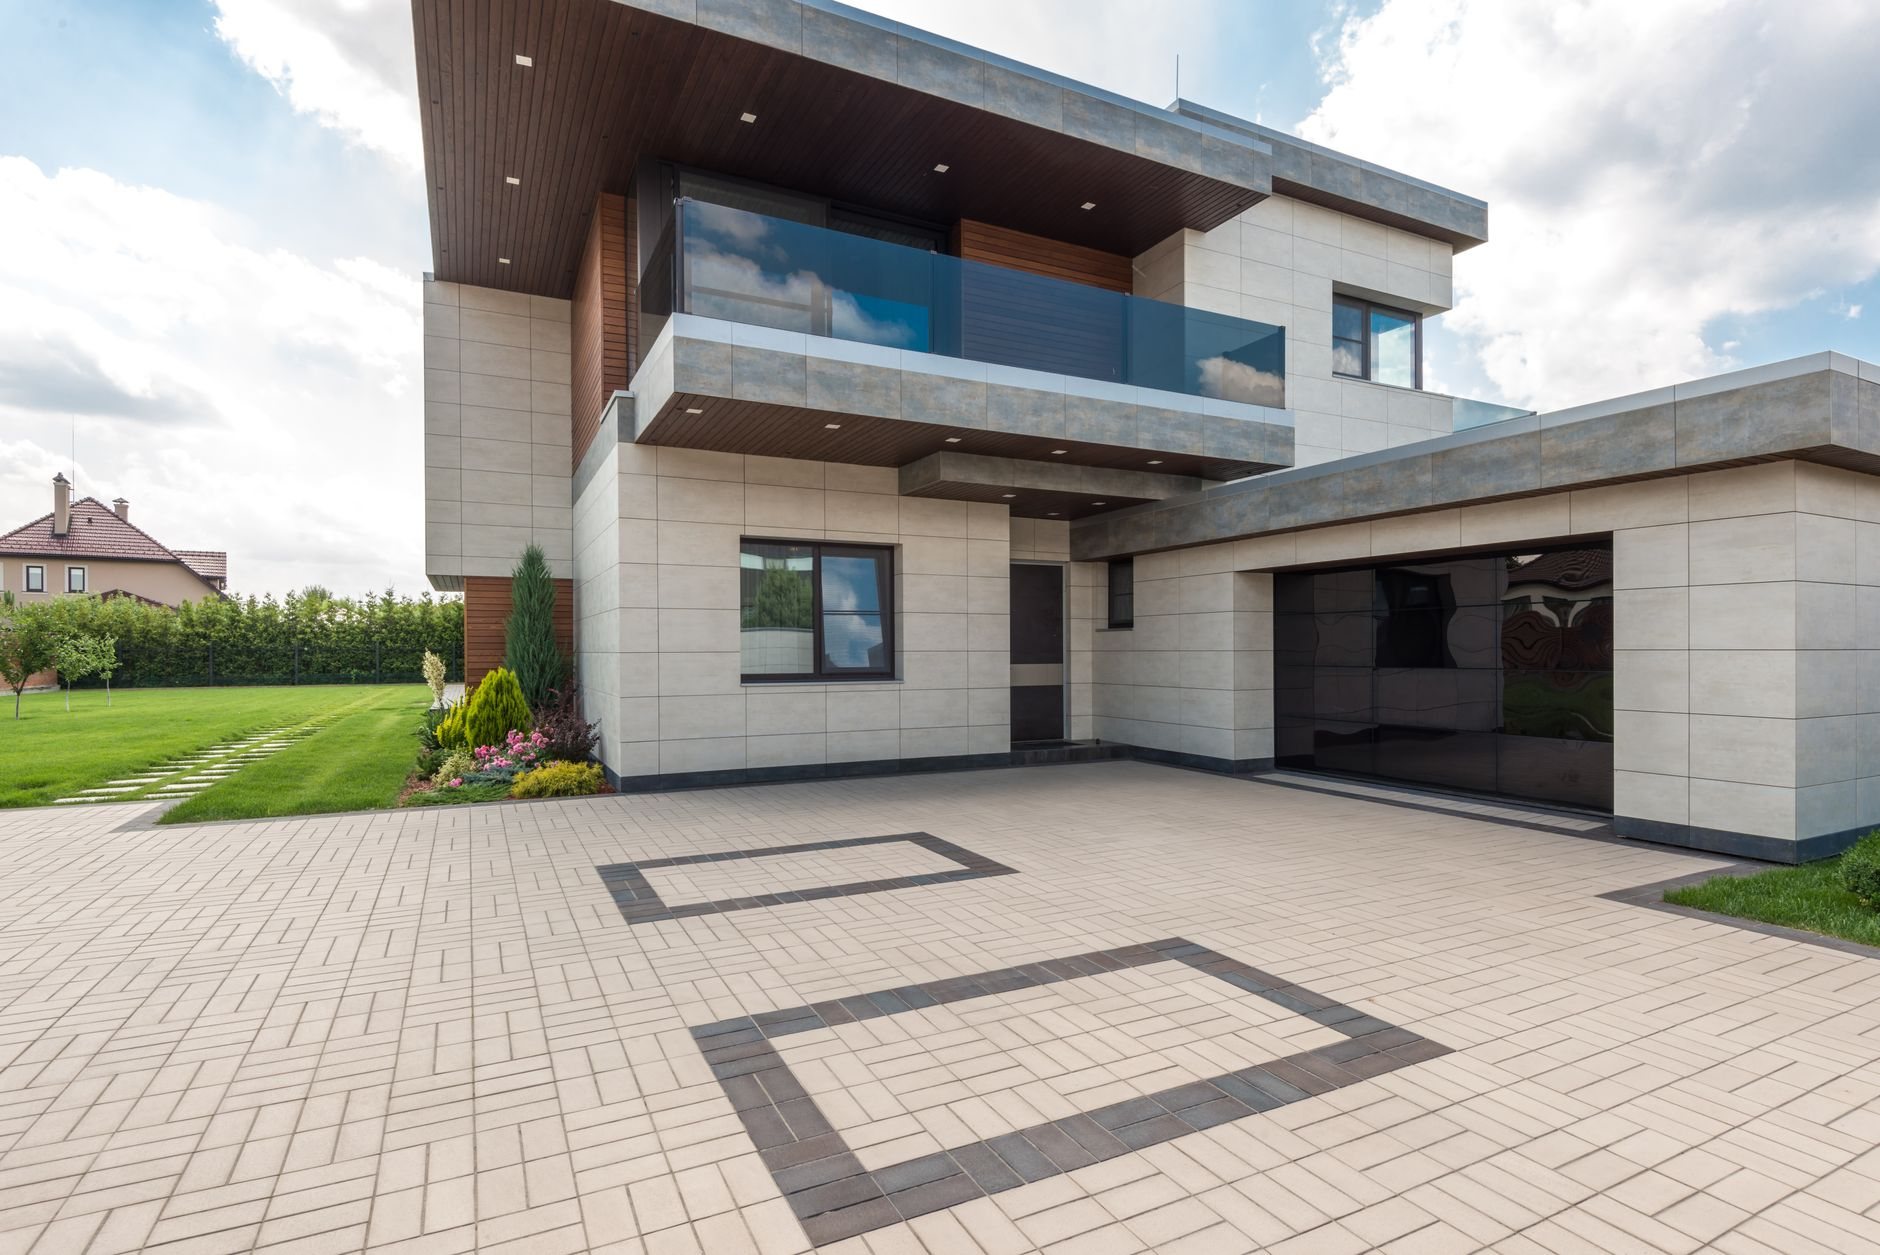
When a flat panel is the right fiber cement profile
Choose it when the elevation is drawn as planes rather than texture. Mountain-modern homes on the bench, detached ADUs and shops, and small commercial and multifamily buildings use panel because the wall reads as one surface broken by a deliberate grid, tuned to window heads, sills, and story lines. It’s also the usual accent field — a two-story entry bay, or the wall between tall windows — against lap elsewhere.
Fiber cement board and batten is the same sheet with battens covering every seam; it hides the joints and reads farmhouse. Fiber cement lap is the horizontal default and the cheaper whole-house option. Stucco-look fiber cement panel is the textured version of this page, for a stucco appearance without stucco’s cracking. And steel and aluminum panel is the other contemporary cladding; it costs more and can oil-can across a big flat field in high-angle sun, where fiber cement stays flat.
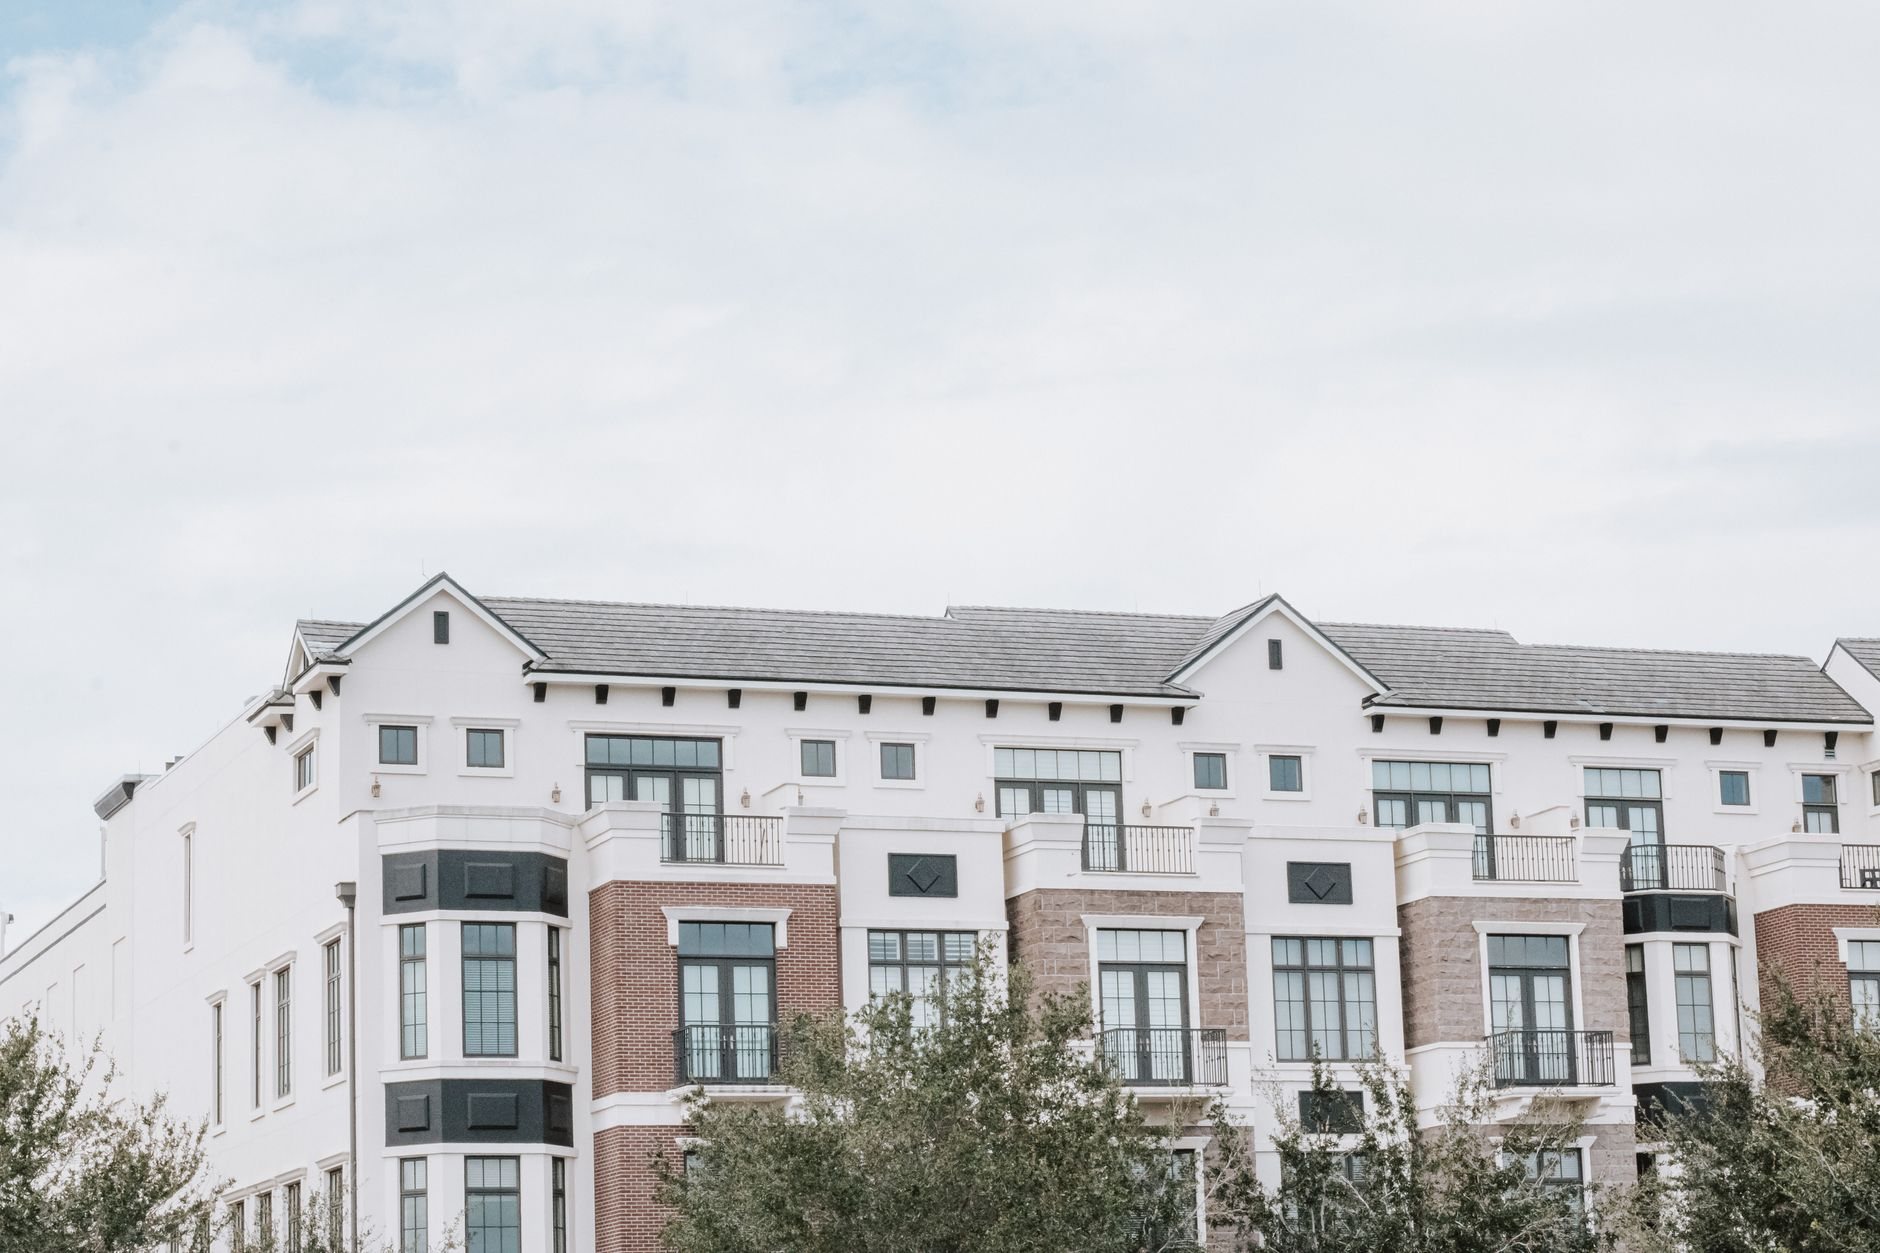
Three ways to handle the joints
On a panel wall the joints are the design, so the joint detail is the first decision.
- Sealed butt joints. Panels gapped 1/8 inch over a flashing strip, sealed with a paintable high-movement sealant. Least expensive and least forgiving — that sealant line lives through a hundred-plus freeze–thaw cycles a year along the Wasatch Front.
- Batten-behind joints. A narrow fiber cement or PVC strip behind each seam, panels left open a controlled gap. The shadow reads as a dark reveal, with no sealant to maintain.
- Extruded aluminum reveals. Factory-finished channels — Tamlyn and Fry Reglet make the common profiles — that receive the panel edges and present a crisp, even-width reveal. Highest cost, cleanest line.
We lay the grid out on the elevation before ordering: 4-by-8, 4-by-9, and 4-by-10 sheets set the module, and the layout decides whether a reveal lands at a window head or six inches above it. We are fond of straight lines and straight answers.

What the installation actually involves
The standard sheet is 5/16-inch vertical panel — James Hardie‘s HardiePanel in the cold-climate HZ5 formulation, smooth, Cedarmill, or Sierra 8 — fastened to studs through the weather-resistive barrier, or over furring as a drained rainscreen. Tear-off, sheathing repair, and barrier follow the same sequence as every siding replacement we do.
- Decide on a rainscreen. Open reveals admit some wind-driven water by design, and summer monsoon cloudbursts hit a flat wall sideways. For reveal systems we recommend 3/8- to 3/4-inch vertical furring with a screened drain opening at the bottom. Sealed-joint walls can usually go direct-applied.
- Snap the fastener grid. On smooth panel every nail head shows, so fasteners go on chalked lines — corrosion-resistant nails 6 inches on center at edges and 12 across the field, 3/8 inch from edges. Every vertical seam lands on a stud, and canyon-wind corridors get the tighter high-wind schedule.
- Z-flash every horizontal joint. A 10-foot sheet doesn’t reach the top of a two-story wall, so each horizontal joint gets Z-flashing with a 1/4-inch gap above it, or a horizontal reveal channel.
- Hold the clearances. Panel bottoms stay 6 inches above grade and 2 above decks and roofing — strictly on north-facing bench walls where snow sits for weeks.
- Finish. ColorPlus sheets get factory-matched touch-up at cuts and nail heads. Primed sheets get field-applied siding paint by professional painting crews; Grandview holds the contract, sequences, and checks that work. At 4,500 feet of UV, charcoals and blacks fade faster, so we steer dark colors toward factory finishes.
Panels, reveals, furring, and flashing are carpentry scopes we perform under a DOPL-verifiable B100 license. Corners and window surrounds are built to the reveal dimension so the trim detailing reads as part of the grid; the rest of the shell lives under site, structure & envelope.
What does fiber cement panel siding cost in Utah County?
As ballpark planning numbers only: installed fiber cement vertical panel along the Wasatch Front typically runs about $12–17 per square foot of wall with sealed or batten-behind joints, and $16–24 with aluminum reveals over a furred rainscreen, including tear-off, barrier, and flashing. Whole-house panel is uncommon; an accent bay or a detached shop is the usual scope. Ranges to plan with, not quotes.
- Joint system. Aluminum reveals roughly double the trim cost of sealed joints and add a layout pass.
- Grid density. A 2-foot module means twice the joints and reveal stock of a 4-foot module.
- Finish. ColorPlus costs more per sheet but removes the painting phase; smooth primed panel is cheapest and the most sensitive to fastener and sealant workmanship.
Questions we actually get
Do the joints on a fiber cement panel wall leak?
Not when they’re designed to drain. Vertical joints sit on a stud with flashing or a reveal channel behind them; horizontal joints get Z-flashing with a gap above. On open-reveal systems a furred rainscreen lets any water that enters a joint run out the bottom instead of into the sheathing.
Will I see the nail heads?
On smooth panel, yes — unless they’re planned. We snap a fastener grid so heads line up in rows and get ColorPlus touch-up or paint, or, on reveal systems, run fasteners along panel edges where the channel flange covers them. Cedarmill texture hides heads if you’d rather see no pattern.
Can I mix panel with lap siding on the same house?
Yes, and that’s how we install it most often in Utah County: panel on the entry bay or between tall windows, lap on the body. The transition needs Z-flashing or a band board where panel meets the top course of lap so water sheds outward.
Is fiber cement panel better than stucco for a modern look?
Usually, here. Stucco on the Wasatch Front cracks at control joints and corners as it rides freeze–thaw cycles and foundation movement in clay soils. Panel gives the same planar look with joints designed to move and drain, and repairs one sheet at a time.
Tell us what you’re working on
Send an elevation sketch or a photo of the wall. We reply within a couple of hours during business hours — a day at most — with a straight read on joint options, rainscreen, and budget before anyone commits to anything.