
Cedar lap & clapboard siding
Cedar lap siding is solid Western red cedar milled into bevel boards and hung horizontally, each course overlapping the one below — the clapboard look on a Salt Lake City bungalow or Avenues Victorian. Grandview installs it under a Utah B100 general contractor license: acclimated, back-primed, and stainless-nailed over a vented rainscreen.
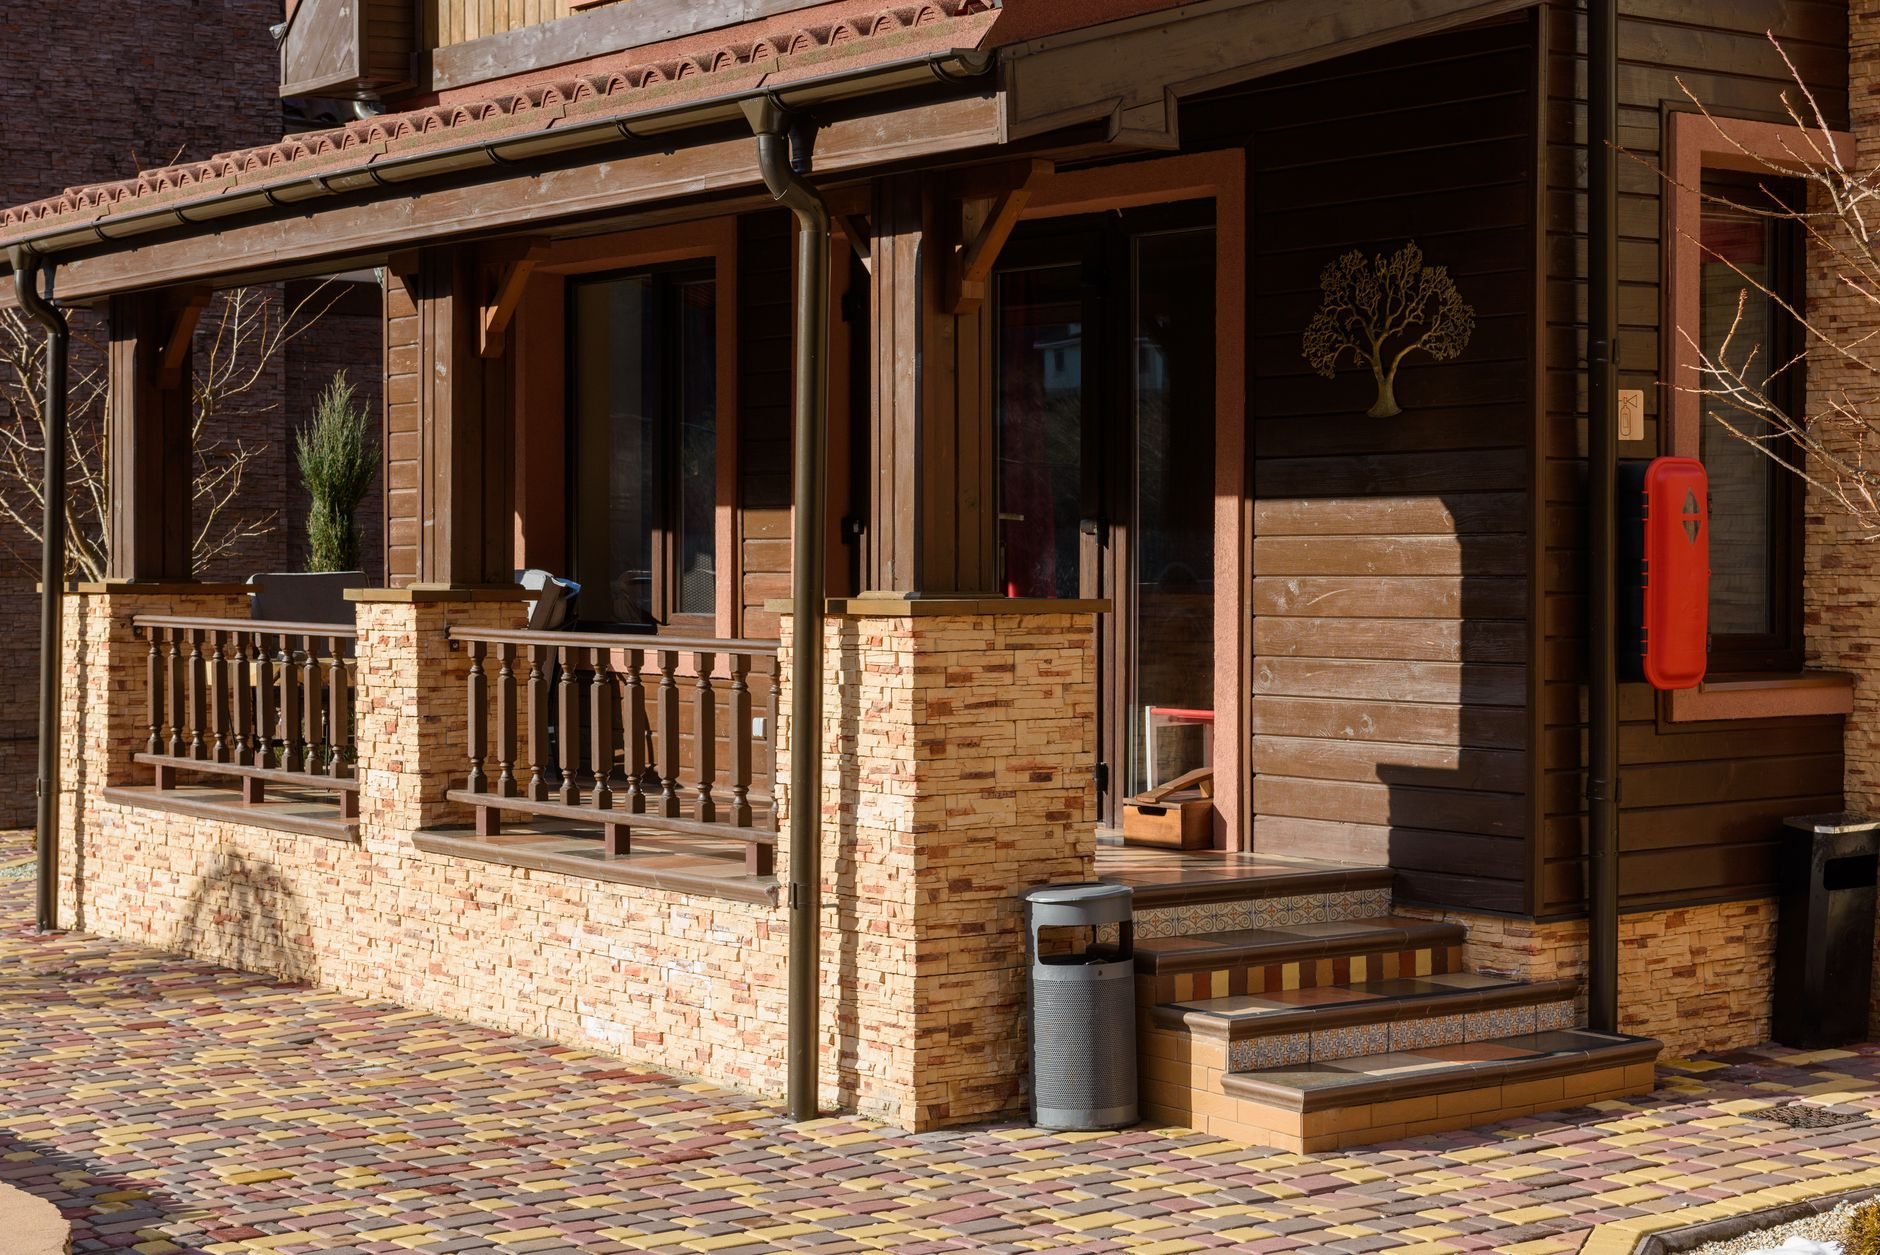
When cedar lap is the right wood profile
Choose cedar lap when the house is already horizontal in character — a 1910s bungalow, a four-square, or a Victorian with its original clapboard. It’s what most of Salt Lake City’s older neighborhoods were built with, which matters in local historic districts where design review tends to favor like-for-like replacement; verify specifics with the city’s planning division first.
The wood siblings cover different elevations. Cedar shakes and shingles are texture, usually a gable accent. Tongue-and-groove lays flat and tight for a modern or cabin read. Wood board-and-batten is vertical farmhouse. Lap casts a shadow line every course and reads as classic from the street.
If you want the look without the maintenance, fiber cement lap or LP SmartSide is the better buy. Cedar is the answer when you want grain, or when the house deserves the real thing.
What cedar lap installation involves
Bevel siding is sawn on a diagonal, thick at the butt and thin at the top. Common sizes are ½×6, ¾×8, and ¾×10; ¾-inch stock throws a deeper shadow and cups less. Grade is the first real decision: clear vertical-grain cedar is the most stable and most expensive; knotty grades suit a rustic finish but move more. The Western Red Cedar Lumber Association publishes the overlap, fastening, and finishing specs we build to.
- Acclimate and back-prime. Boards sit on site about a week to reach local moisture content — Utah’s dry air pulls wood below what it shipped at — then every face, edge, and end gets primer or stain. Sealing all six sides is the biggest single factor in whether cedar cups and checks.
- Vented rainscreen. Over the weather-resistive barrier we add vertical furring or a drainage mat so the back of every board can dry. Cedar wicks water; a wall that breathes behind the siding keeps that from becoming peeling finish or rot.
- Layout and overlap. We hold a 1-inch minimum overlap on 6-inch boards and 1½ inches on wider stock, then adjust the exposure so course lines land evenly at window heads and sills. We are fond of straight lines and straight answers.
- Stainless fastening. One stainless-steel ring-shank nail per bearing, driven just above the top edge of the course below so each board can move independently. Along canyon-wind corridors we tighten the spacing.
- Joints and ends. Butt joints land on studs, stagger course to course, and get sealed end grain plus a flashing strip behind. Bottom courses stay six inches above grade, higher where bench-lot snow piles up.
- Finish. Semi-transparent stain shows grain; solid stain or paint hides it and lasts longer between coats. Professional painting crews apply it, and Grandview holds the contract, sequences it, and checks the result.
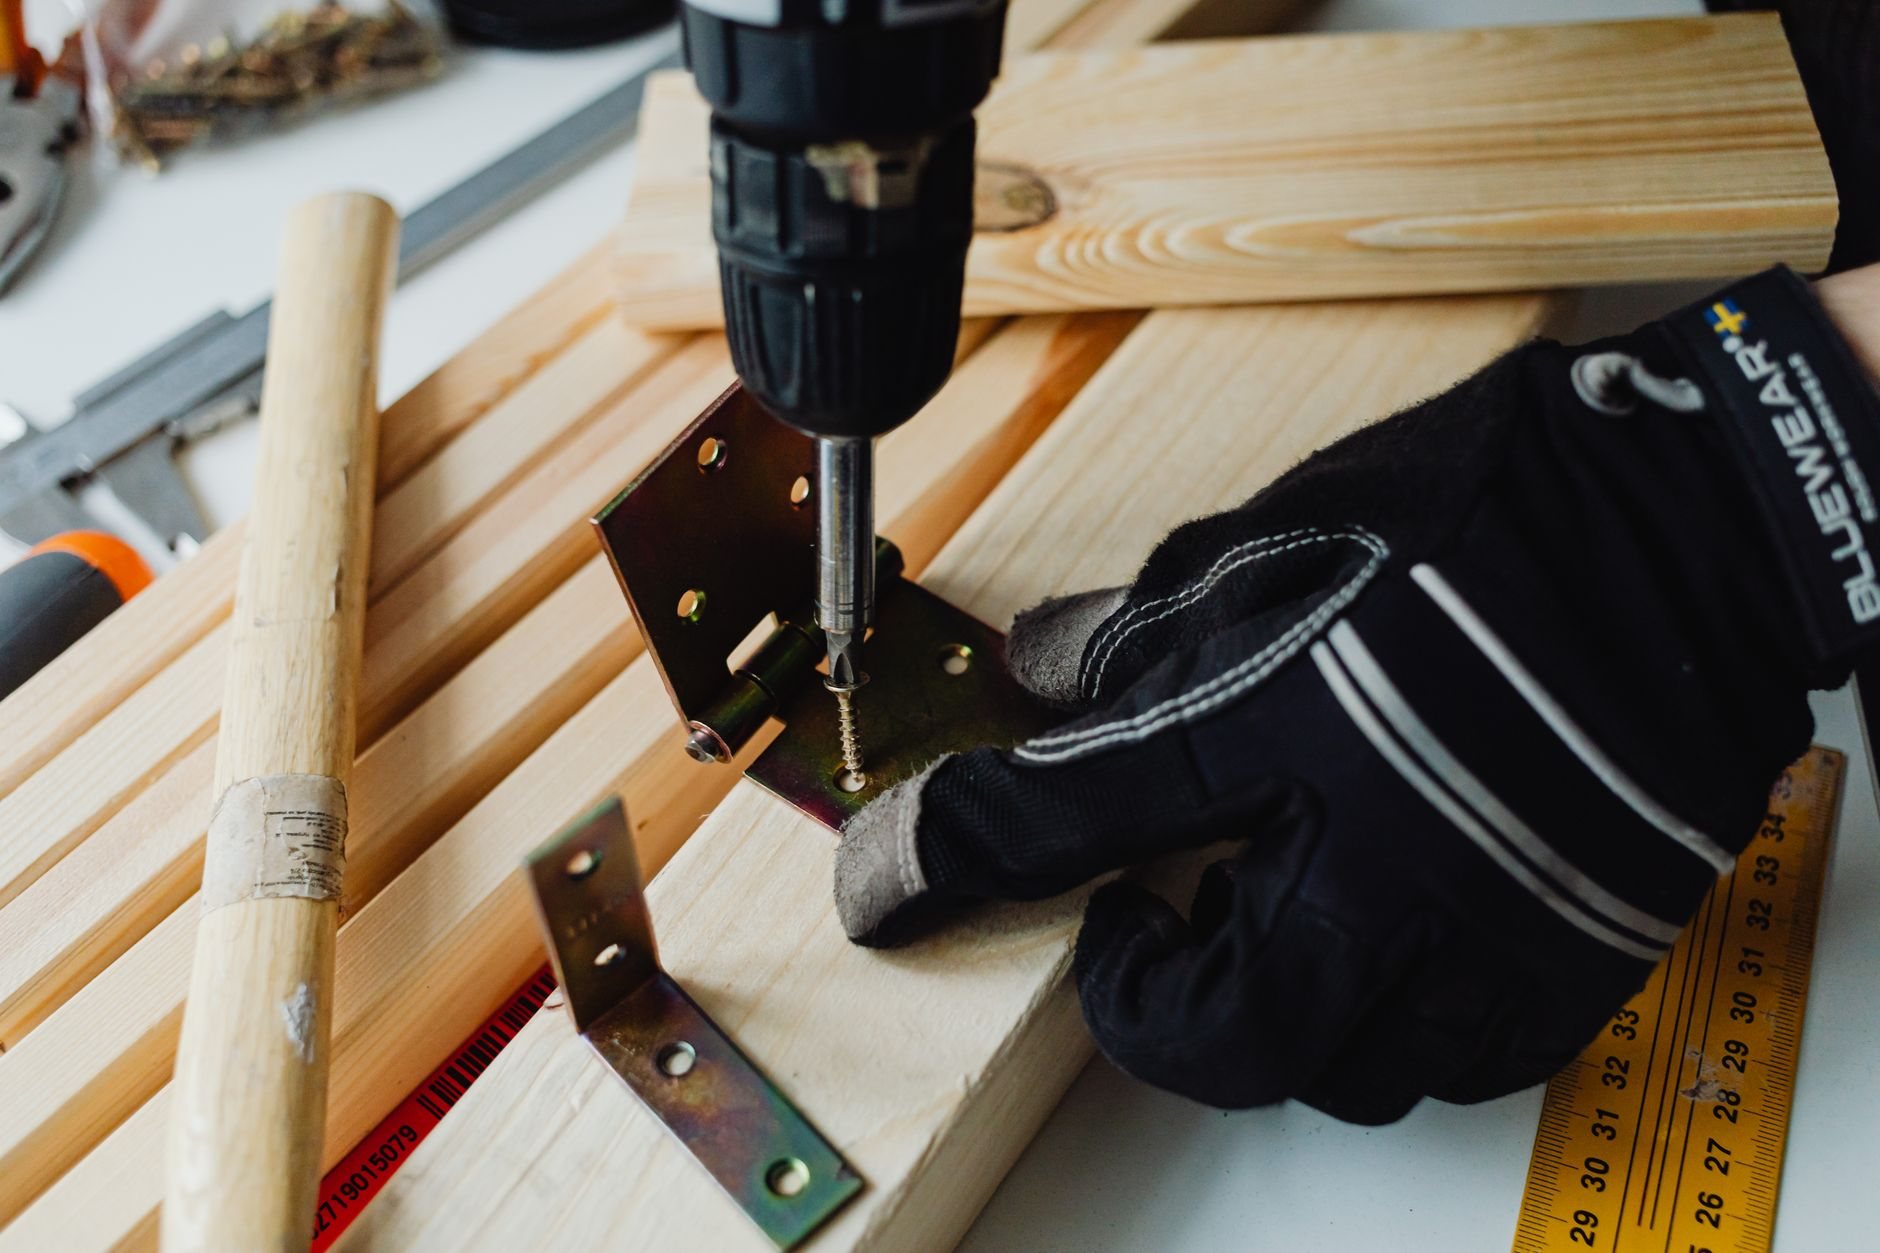
Siding, trim, furring, and flashing are carpentry scopes we perform under a DOPL-verifiable B100 license. The assembly underneath follows the sequence on our siding installation and replacement page before the first clapboard is hung; the rest of the shell lives under site, structure & envelope.
How cedar weathers along the Wasatch Front
Cedar is a maintenance relationship, and Utah shortens the intervals. At our elevation UV is harsher than at sea level, so a south- or west-facing clapboard wall greys years ahead of the north side. A hundred-plus freeze–thaw days a year work the sealant joints at corner boards and trim, and summer cloudbursts followed by instant dry-out punish unsealed end grain.
Plan on refreshing semi-transparent stain every three to five years on sunny exposures, solid stain or paint every seven to ten; our siding painting and staining service handles recoats. The upside of real wood: a weathered board gets refinished, and a damaged one swaps out individually — no discontinued profile, no color-batch mismatch.
What does cedar lap siding cost in Salt Lake City?
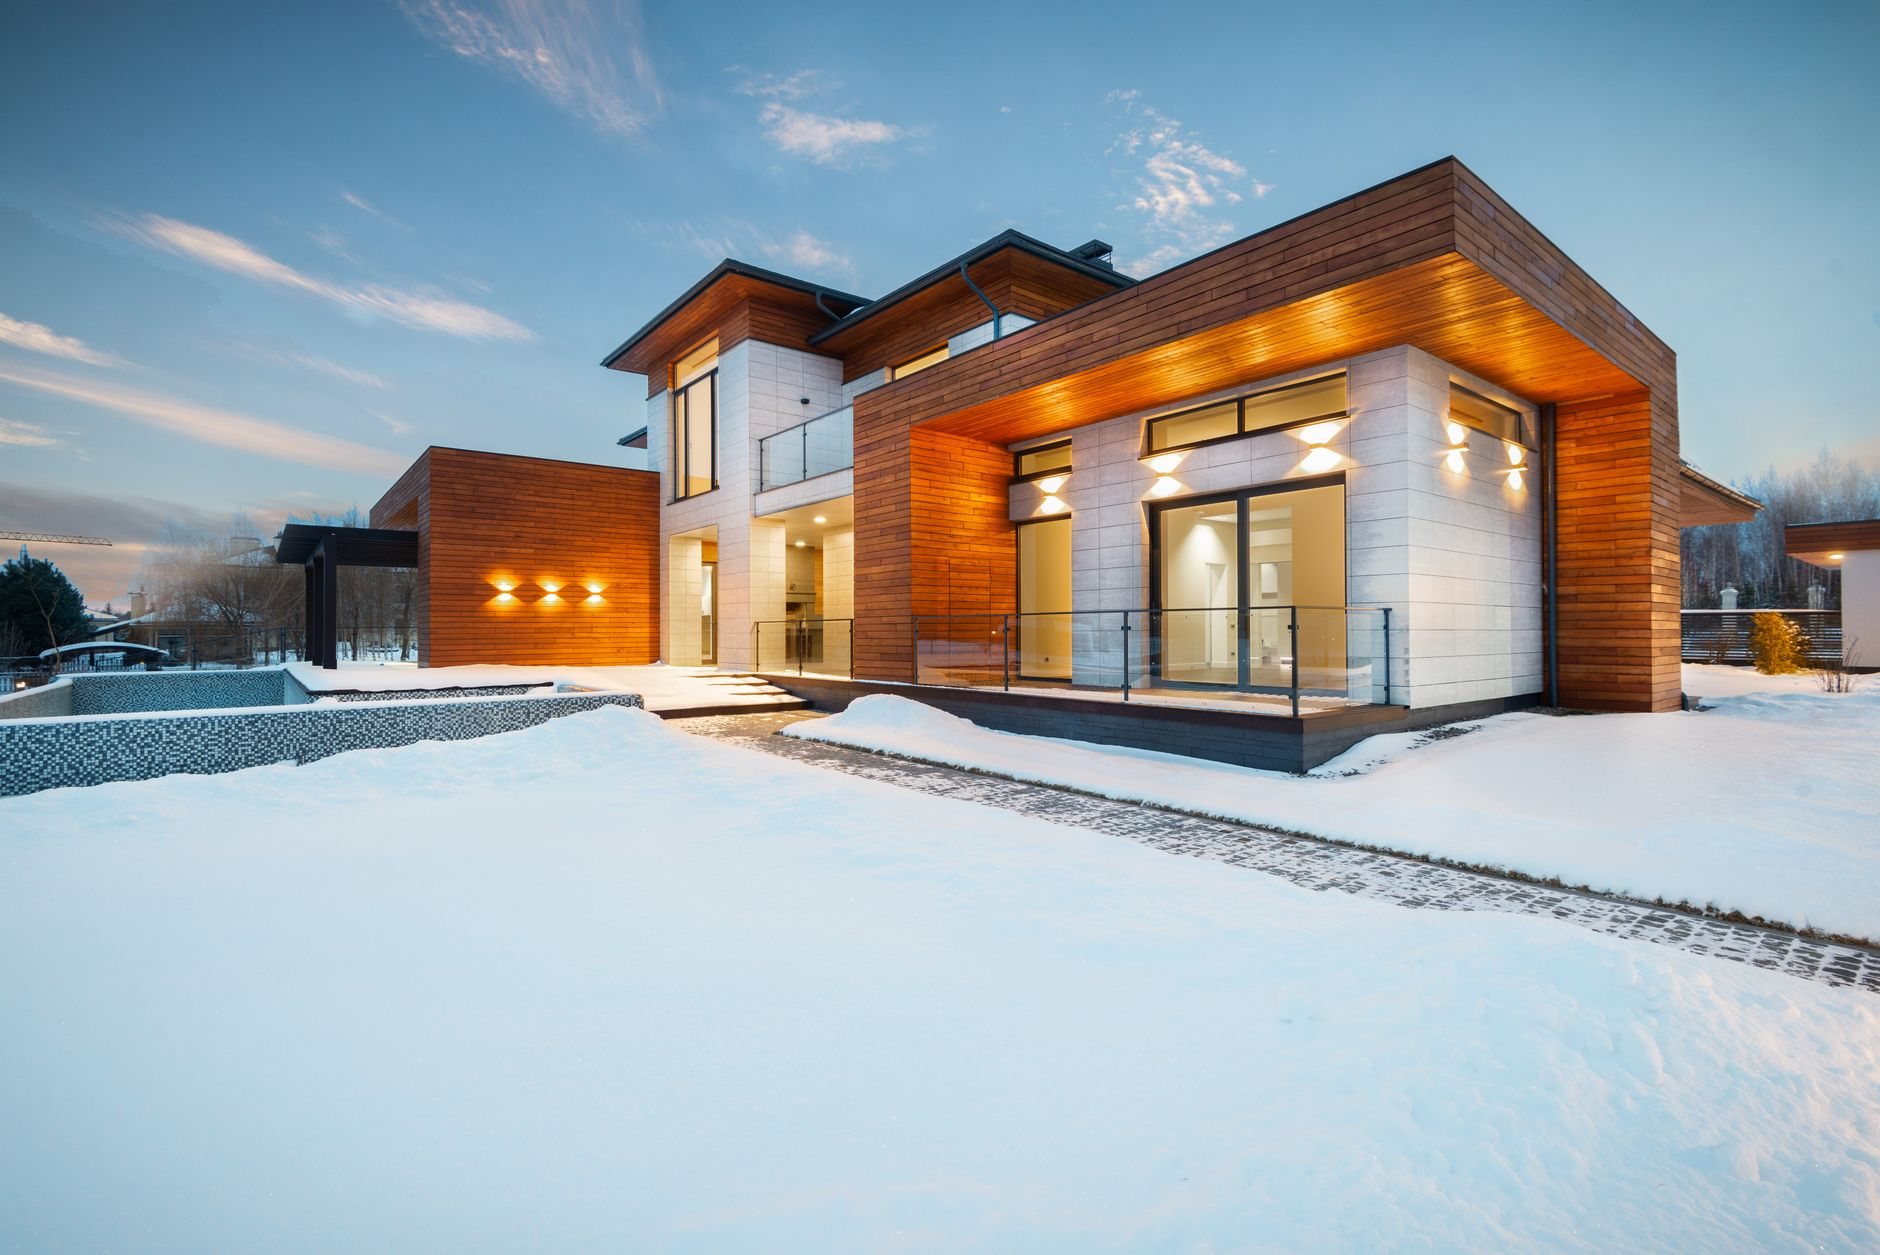
As ballpark planning numbers only: installed cedar bevel siding along the Wasatch Front typically runs about $12–20 per square foot including rainscreen, trim, and a first finish coat — clear vertical-grain at the top, knotty at the bottom. A firm estimate follows a site walk and a written scope.
- Grade and width. Clear vertical-grain costs roughly double knotty; wider boards mean fewer courses but more cut waste.
- Finish path. Factory-finished cedar costs more per board and skips a weather-dependent site phase; field-finished runs the other way.
- Rainscreen and fasteners. Furring and stainless nails are a modest line item that decides the lifespan; we don’t price them out.
Questions we actually get
Should cedar lap be stained or painted?
Stain, in most cases. Semi-transparent stain soaks in and fails by fading rather than peeling, so recoats need a wash and a fresh coat, not stripping. Paint lasts longer between coats but sits on the surface and eventually peels, especially on south and west walls under our sun. Solid stain is the middle path.
Why stainless nails instead of galvanized?
Cedar’s natural tannins react with iron. Even hot-dip galvanized nails can bleed black streaks from every nail head within a season or two, and the stain is permanent. Stainless ring-shank nails cost more per box but are the only fastener we’ll put in cedar that will be stained or left to weather.
Can cedar lap go straight over the old siding?
No. Cedar needs a flat, drained substrate and a rainscreen behind it, and old cladding provides neither. We take the existing siding off, repair sheathing, and rebuild the water-resistive layer. If the existing boards are original cedar in sound shape, the better conversation is repair and refinish.
How long does a cedar lap job take?
Longer than fiber cement on the same house. Allow about a week for boards to reach local moisture content, then one to three weeks of carpentry depending on size and trim detail, then a finish phase that waits on dry weather and minimum temperatures. We sequence it around the forecast rather than forcing it.
Tell us about the house
Send a photo of the front elevation. We reply within a couple of hours during business hours — a day at most — with a straight read on grade, finish, and a budget range before anyone commits to anything.