
Attached pergola builders in Utah County
An attached pergola is an open-rafter shade structure that hangs one side off your house on a ledger board and carries the other on posts set in footings. Grandview designs and builds them under a B100 general contractor license, with the ledger flashed into the wall so the connection sheds water instead of trapping it.
When attaching to the house is the right call
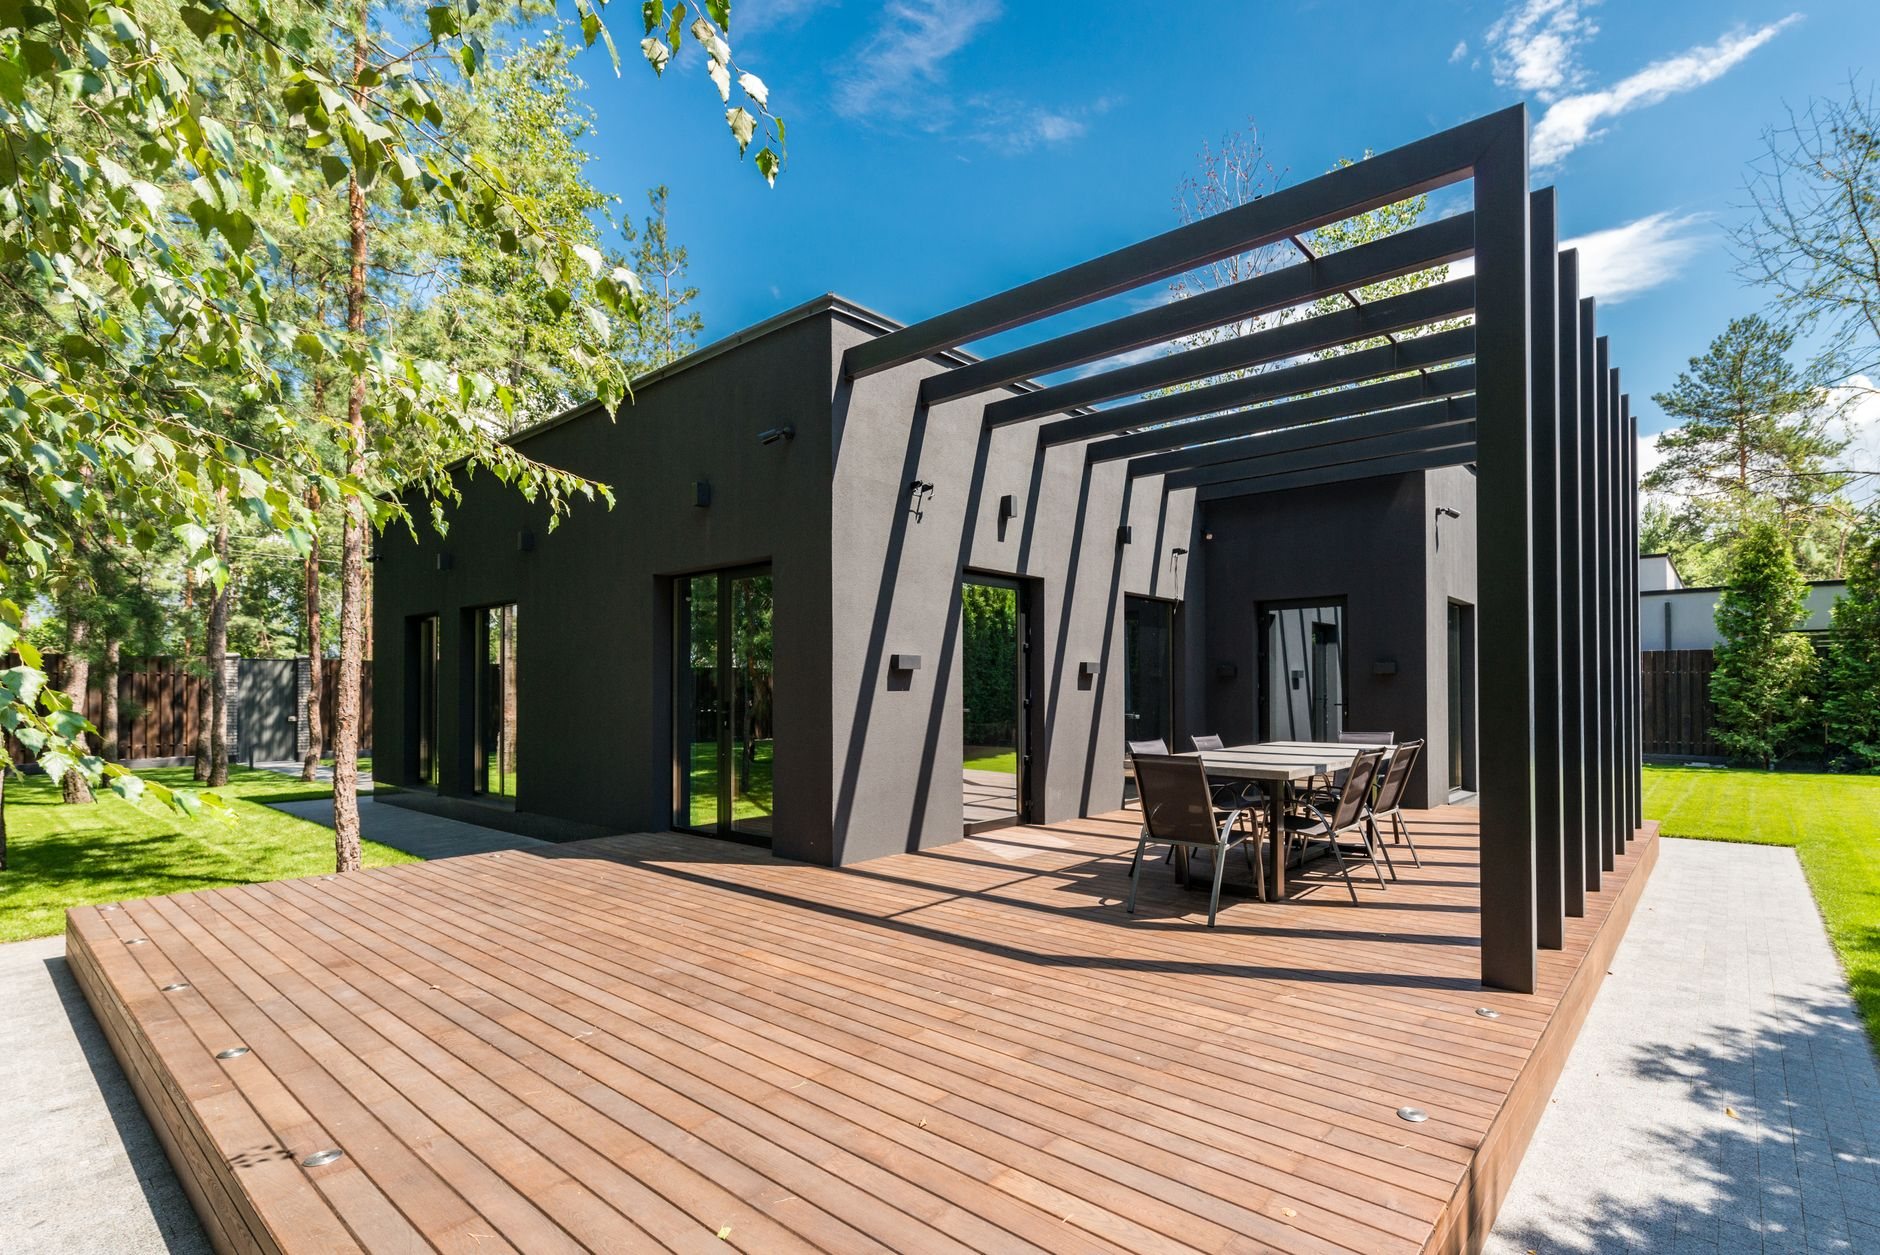
Attach the pergola when the shade belongs directly outside a door: a patio off the kitchen, a slider onto a back deck, a walkout basement entry. The house wall is already the fourth side of the room, so tying the pergola to it saves two posts and keeps the walking path clear.
Choose a freestanding pergola instead when the spot sits more than a few feet off the wall, when the wall is brick veneer you’d rather not cut into, or when the only mounting height would put rafters below seven and a half feet. If you want rain and snow kept off the patio, not just sun, you’re describing a covered patio, which carries a solid roof and a very different ledger load.
Material is a separate decision. We build attached pergolas in cedar and timber (see wood pergolas), in powder-coated aluminum and steel, and as wall-mounted louvered systems. The ledger detail applies to all three.
How the ledger connection actually gets built
The ledger is the whole job: a single 2×10 or 2×12 bolted flat to the house so the rafters can hang from it. Nearly every attached-pergola failure traces back to how that one board was fastened and flashed.
What it fastens to. The ledger has to land on framing: a rim joist, a built-up header, or studs with blocking added behind them. Siding, stucco, and brick veneer carry no load, so a ledger screwed to any of them alone is waiting to let go. On stucco homes, common across Utah County subdivisions built since the 1990s, we cut the stucco back, mount to the framing, then flash and patch the opening.
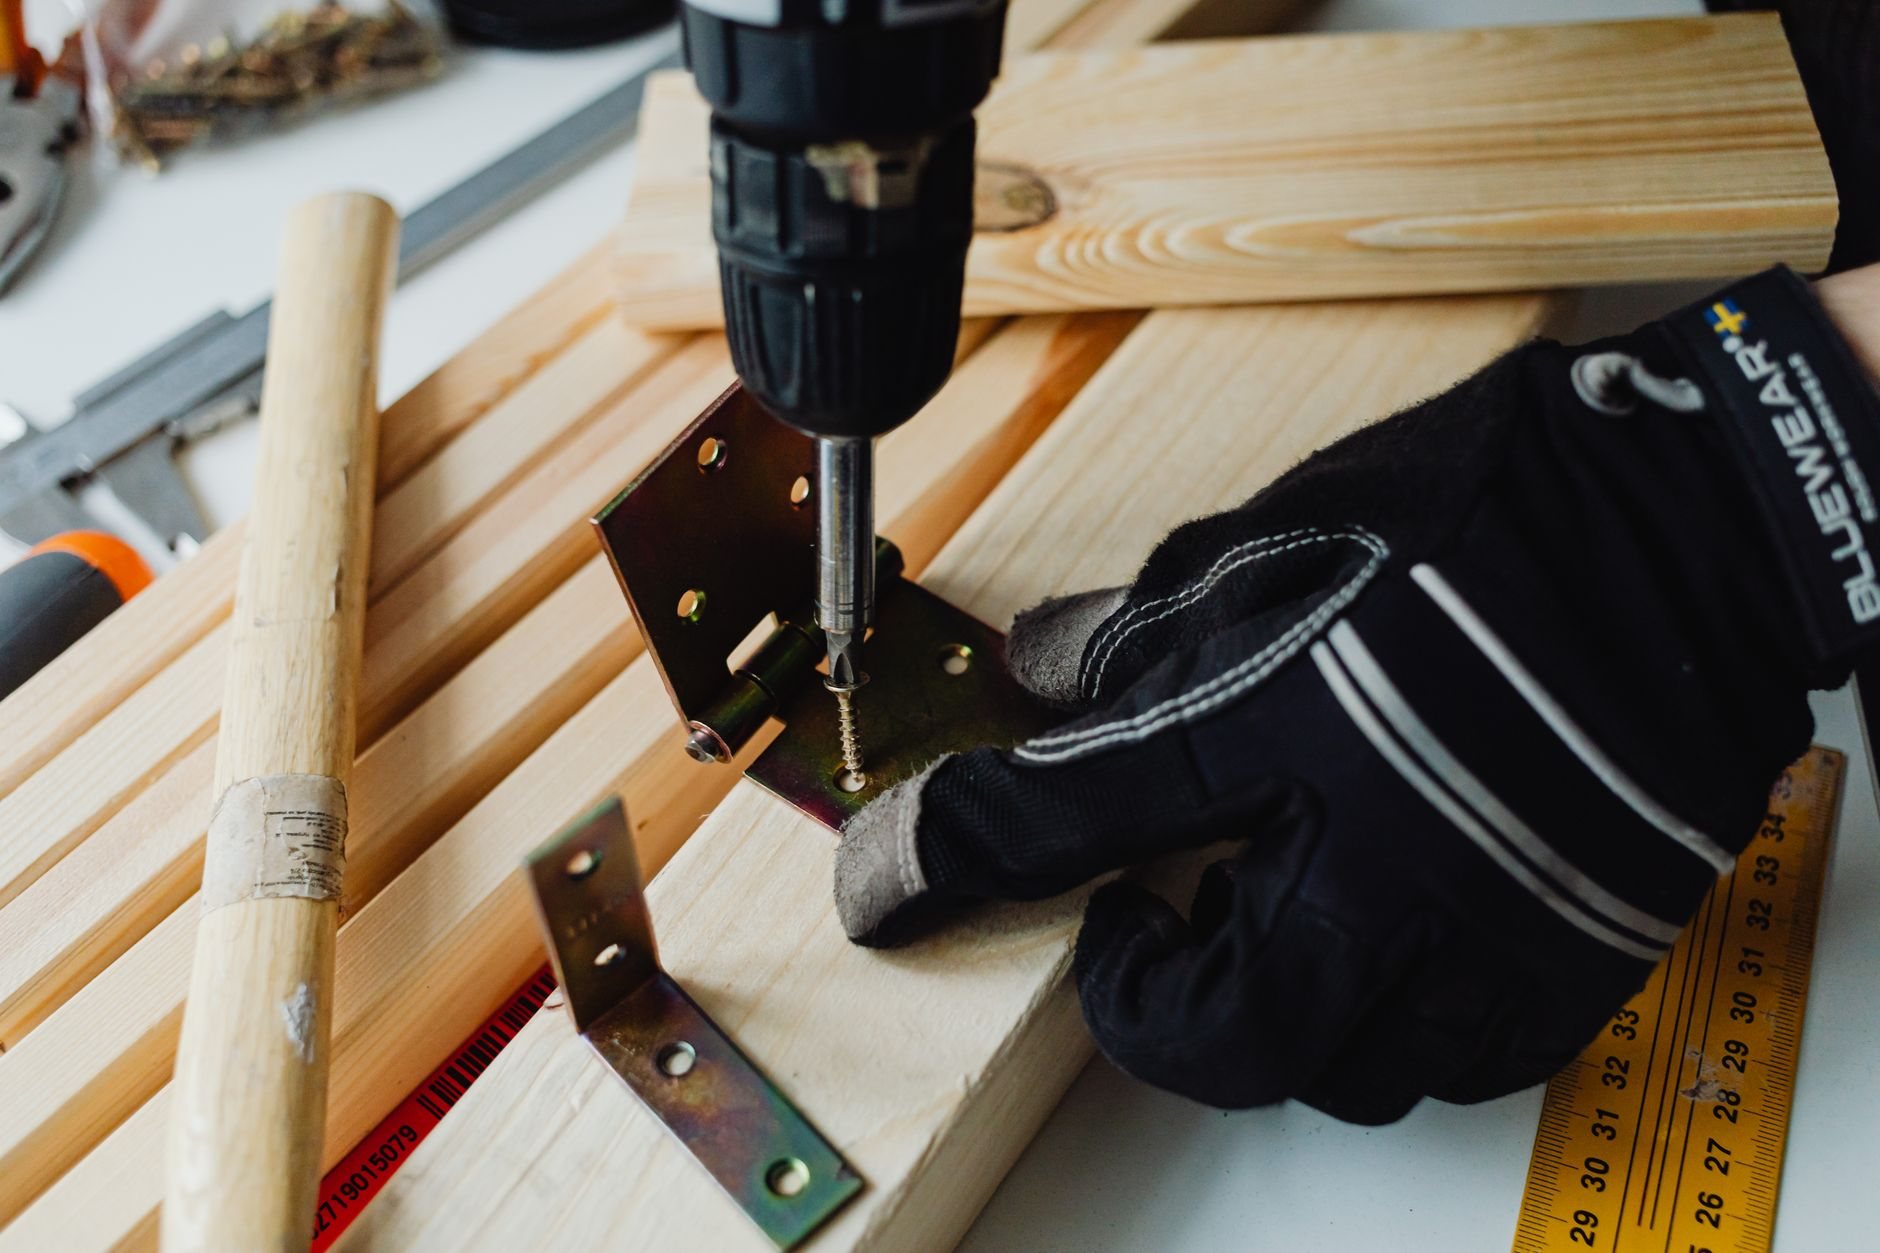
Fasteners. Structural ledger screws or through-bolts in a staggered pattern sized to the rafter span. Never deck screws, never nails. The pattern goes on the drawing so the inspector can count it.
Flashing. Self-adhered membrane over the sheathing, then the ledger, then metal Z-flashing tucked behind the house wrap above and lapped over the top of the board. Water that hits the wall runs over the ledger and out, not behind it. A Wasatch Front monsoon cloudburst puts a lot of water on a wall in ten minutes; this detail decides whether the inside of that wall stays dry.
Height. On a single-story home the ledger often has to fit between the door header and the soffit. When that band is tight, rafters hang from the ledger face on joist hangers instead of sitting on top, which buys back several inches of headroom.
The outer posts. The free side still needs footings below frost depth in air-entrained concrete, with standoff bases that keep post end grain out of water. On the expansive clay the Utah Geological Survey maps across much of the valley floor, we take footings well below the slab rather than pinning posts to it: the house end is fixed, so if the yard end heaves, the structure racks and the ledger bolts take the stress. Over new flatwork, footings go in first and the concrete patio is poured around them.
Process and the decisions that matter
- Measure the wall. Header height, soffit height, what’s behind the cladding, where the hose bib and electrical mast sit. This settles whether a ledger is practical before anyone draws anything.
- Design the projection. How far the pergola reaches from the house sets rafter size and post spacing. Twelve feet in cedar is routine; sixteen starts calling for bigger beams or a mid-span post.
- Decide what’s overhead. Open rafters shed snow by not catching it. Add polycarbonate panels or shade fabric and the structure starts collecting load, which matters more on bench lots than the valley floor.
- Permit. Attached structures almost always need a building permit in Utah cities because they load the house. We submit the drawings and ledger detail; HOA approval often runs in parallel in newer Lehi and Saratoga Springs developments. Verify specifics with your city’s building department.
- Build in order. Footings, cure, ledger and flashing, beams, rafters, finish. For fans or lights, licensed electricians we coordinate within the project rough in wiring before the rafters close things up.
What does an attached pergola cost in Utah County?
As a ballpark planning range, a cedar attached pergola over a typical 12-by-16-foot patio often lands in the mid four figures to low five figures installed, with aluminum and louvered versions above that. The ledger moves the number more than people expect: cutting and patching stucco, bridging brick veneer, or adding blocking inside the wall is labor a freestanding version never carries. Projection depth, footing conditions, and electrical move it from there. These are not quotes. A site walk gets you a real budget range, then a firm estimate once the design is set.
Grandview is a licensed and insured Utah general contractor; verify license #14282236-5501 at dopl.utah.gov. Attached pergolas belong to our pergolas and outdoor structures line within the site, structure and envelope family.
Questions we actually get
Will attaching a pergola to my house cause leaks?
Not if the ledger is flashed correctly. The membrane, ledger, Z-flashing sequence routes water over the board and out of the wall. Leaks come from ledgers screwed straight through siding with caulk as the only defense; a few Utah summers of high-elevation UV finish the caulk, and the wall takes on water.
Can you attach a pergola to a stucco or brick house?
Stucco, yes: we cut back to the sheathing, mount to framing, flash, and patch. Brick veneer carries no load, so we either anchor through it to the framing with engineered standoff brackets or build the pergola freestanding a few inches off the wall, which looks nearly identical from the patio.
What adds cost to an attached pergola compared with a freestanding one?
Wall work, mostly. Opening and patching stucco, bridging veneer, or adding blocking inside the wall are hours a four-post pergola never spends. You save two posts and two footings, which partly offsets it. Permit drawings for the ledger detail and any electrical for fans or lights are the other common additions.
Tell us what you’re working on
Send a photo of the wall where the pergola would land and a rough patio size. We reply within a couple of hours during business hours, a day at most, with a straight read on whether a ledger works and what it should cost.