
Kitchen cabinet installation in Salt Lake City
Kitchen cabinet installation is the full-room set: upper and base runs, tall pantry and oven units, the island, appliance panels, and the crown and toe kick that finish it — set level, anchored to framing, and sequenced so counters and appliances land on schedule. Grandview Contractors installs kitchens across Salt Lake County and Utah County under a B100 general contractor license, whatever cabinet tier you’ve chosen.
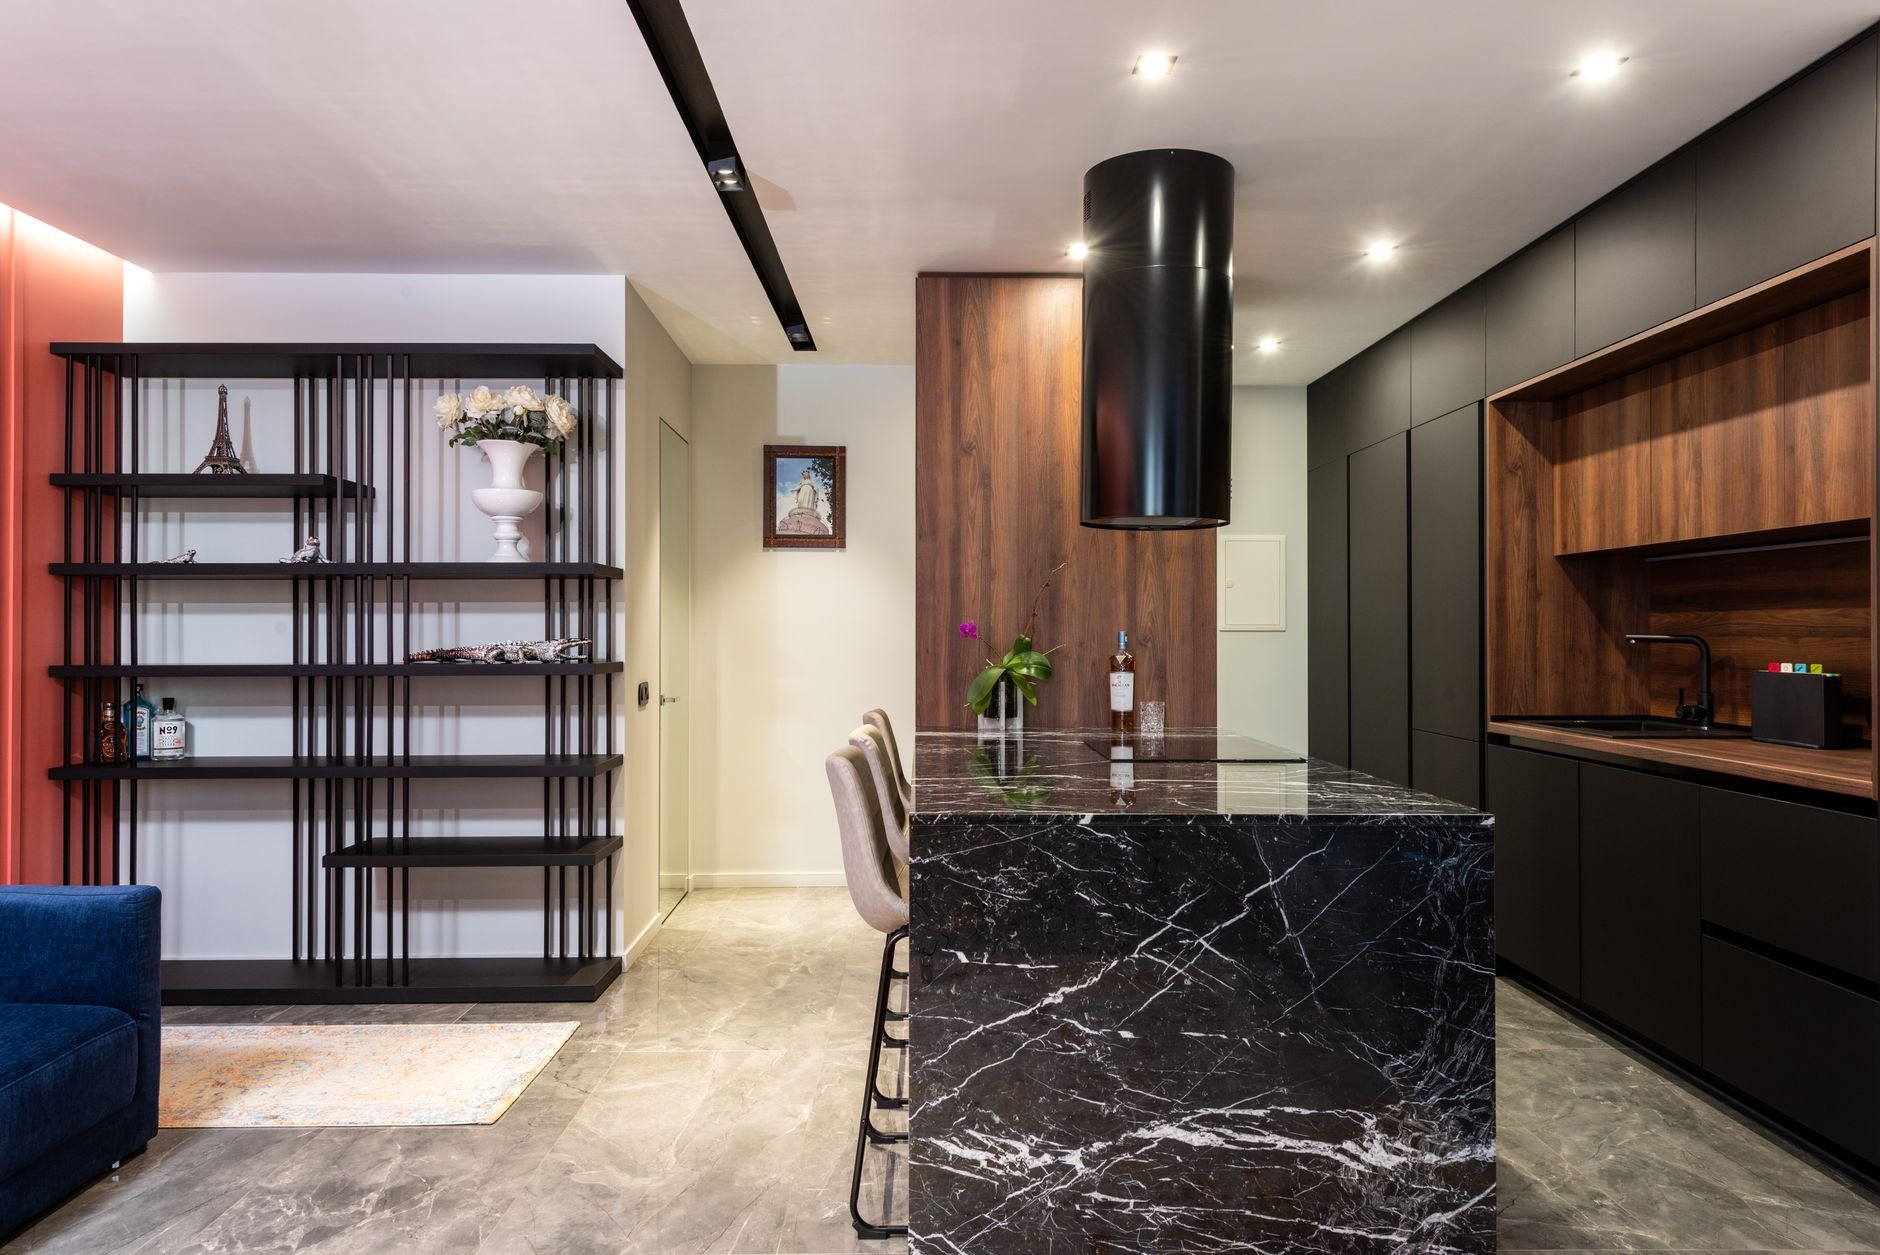
The whole kitchen, not just the boxes
The cabinet tier is a separate decision with its own page — custom cabinetry built to the room, semi-custom cabinets with modified sizes, or stock cabinets on a 3-inch grid. Whichever you buy, the install decides whether the doors line up and the counters fit.
It’s the right scope when you’re replacing a full kitchen’s cabinets in roughly the same footprint, island and tall units included, and want one contractor responsible for cabinets, counters, appliance fit, and the plumbers and electricians who reconnect everything. If your boxes are sound and you only dislike their face, that’s cabinet refacing; if the sink wall or range is moving, it’s a kitchen remodel. Either way, it sits inside our cabinetry and countertop work.
Runs, tall units, the island, and the parts that hide the joints
A kitchen is three kinds of cabinet plus trim, each with its own failure mode. Wall runs hang from a rail screwed into studs — never drywall alone, which matters along the Wasatch fault when an upper carries forty pounds of plates. Base runs are set to a level line off the floor’s high point, shimmed, and screwed face frame to face frame so the run reads as one piece. Tall units — a 36- or 42-inch refrigerator enclosure, a double-oven cabinet, a pantry — get plumbed in both directions, because a tall box leaning an eighth of an inch shows it at the crown.
The island is its own job. It has no wall to fasten to, so we lay out its footprint off the finished base runs, fix 2×4 cleats to the subfloor inside that outline, and screw the cabinets to the cleats. A range or sink island needs its gas, water, or electrical stub through the floor before the boxes go down. Overhangs beyond 10 to 12 inches get steel brackets, specified with the templating and fabrication plan. Adding an island where there was none is covered under kitchen island addition.
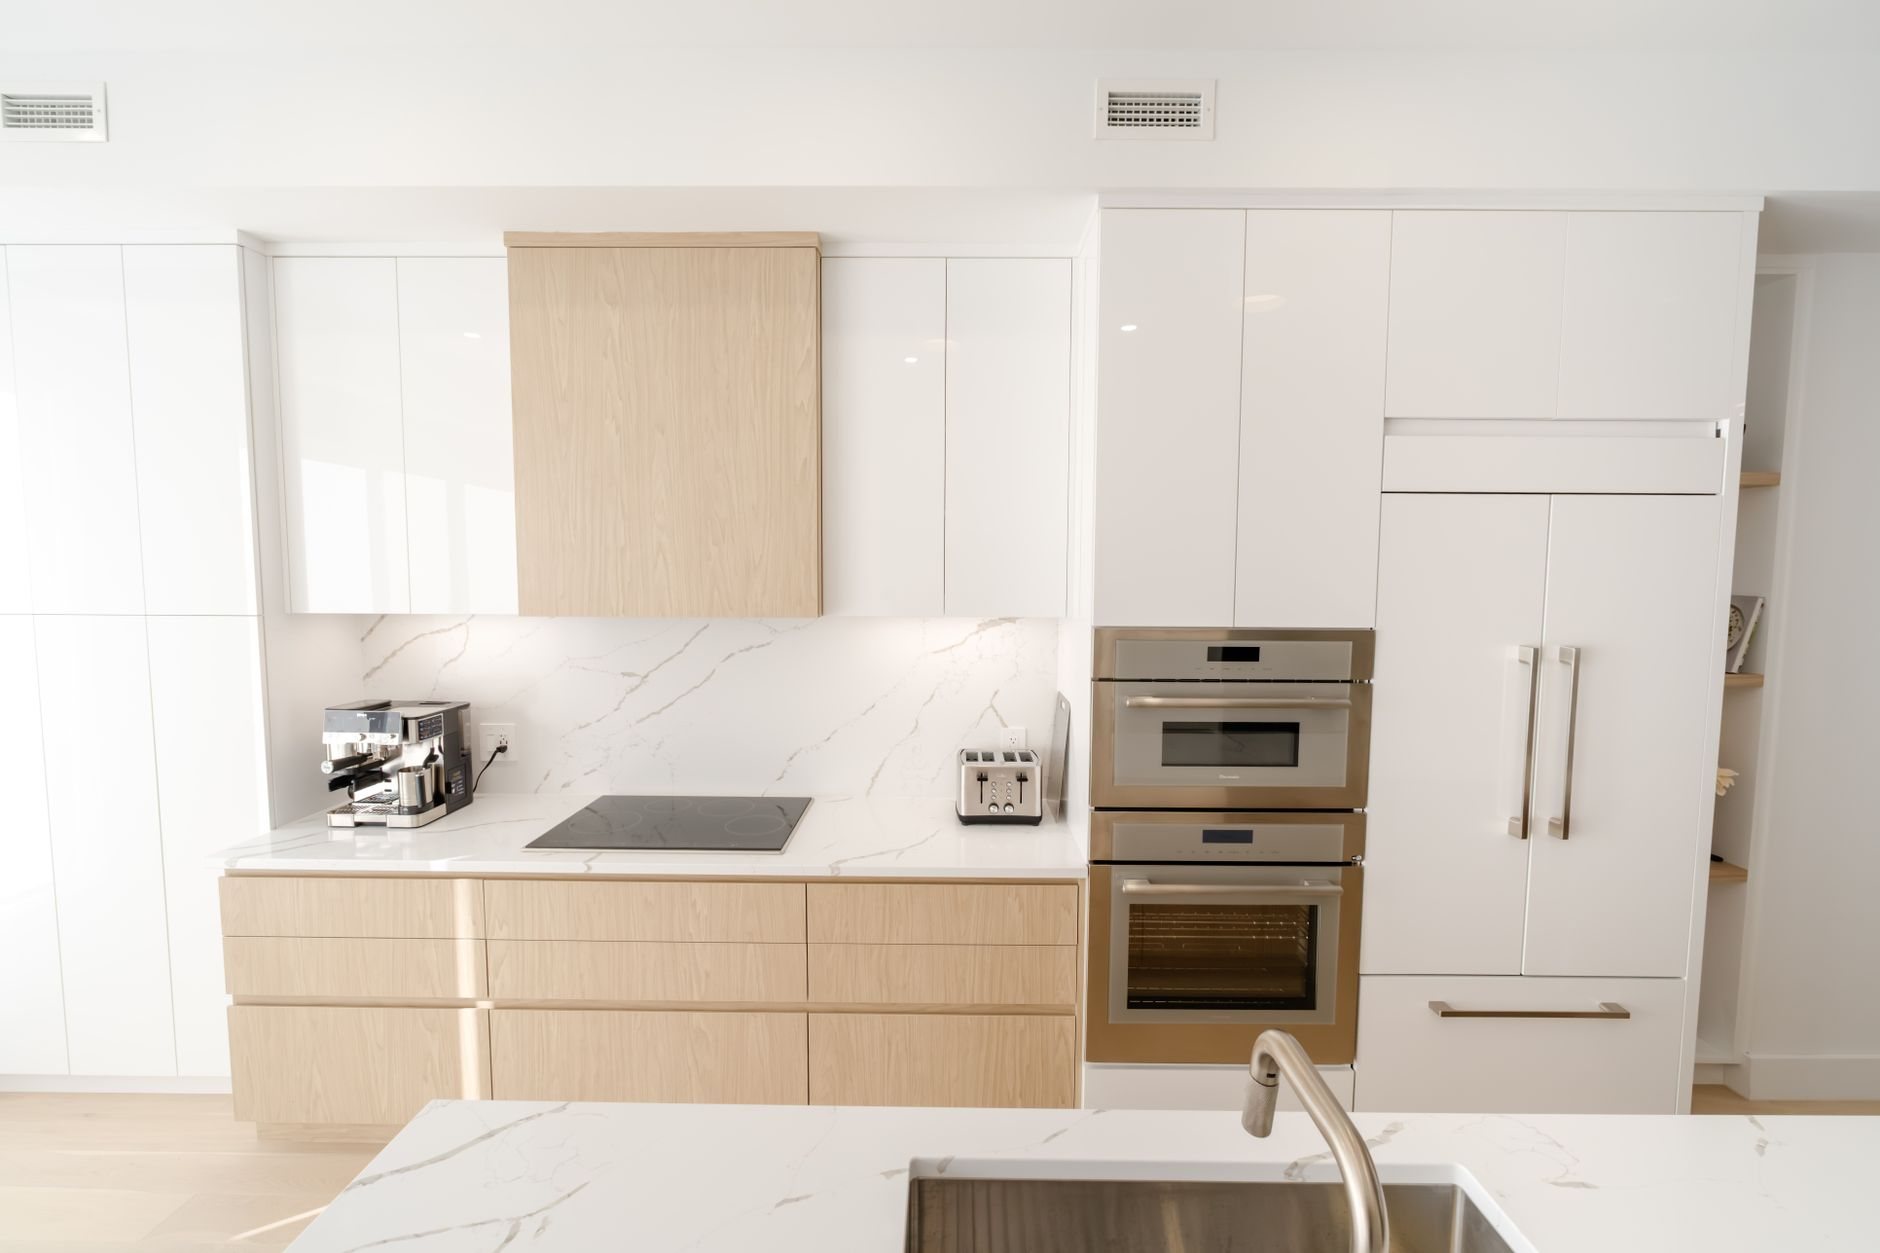
Then the finish layer: appliance panels, a hood cabinet with the duct cutout, light rail to hide LED strip, crown scribed to a ceiling that is rarely flat, and toe kicks. In the Avenues, Sugar House, and Liberty Wells, plaster walls are often a half-inch out of plumb across a run. That gets scribed fillers and panels, not caulk.

The order a kitchen install actually runs in
- Layout on the walls. Before demo, we mark studs, the level line, every appliance opening, and every plumbing and electrical penetration. A 30-inch range needs a 30-inch gap, not 31.
- Demo and rough-in check. Old cabinets come out. The licensed plumbers and electricians we coordinate cap, move, or add what the layout calls for — a circuit for a microwave drawer, or a filtered-water line at the sink, worth adding in our hard-water area while the wall is open.
- Uppers off a ledger, then tall units. A temporary ledger holds the uppers at height while we fasten them to studs; tall units set next so their tops align for one continuous crown.
- Bases, island, fillers. Bases go to the level line, the island to its cleats, then scribed fillers, end panels, and cutouts for the hood duct and sink plumbing.
- Template, counters, connect. Counters are templated off the set boxes, not the drawings, and arrive one to two weeks later. Then tops, sink, dishwasher, and hood get connected, appliance panels are hung, and doors and drawers are adjusted to even reveals.
What does kitchen cabinet installation cost in Salt Lake City?
As ballpark planning numbers, labor to install a full kitchen’s cabinets in the Salt Lake area usually runs in the low four figures for a straightforward 10-by-12 room and reaches the mid four figures with an island, tall units, crown, and appliance panels. Cabinets, counters, demolition, and reconnections are separate line items.
Up: an island, tall-unit and hood-cabinet work, crown and light rail, and plaster walls that need every filler scribed. Down: wall runs only, every appliance staying put, and flat drywall in newer homes in Daybreak, Herriman, or Lehi. If the sink stays and no circuits are added, a same-footprint cabinet swap generally needs no permit under current Utah-adopted code; moving plumbing or adding circuits does, and in the city that goes through Salt Lake City Building Services. We tell you which side of that line you’re on before anything is ordered, under one B100 license verifiable at dopl.utah.gov. Everything else we renovate starts at renovation and build-outs.
Questions we actually get
Will you install cabinets I bought myself?
Yes, from any tier — stock, semi-custom, custom, or RTA. We ask to see the cabinet list before delivery to check appliance openings, filler counts, and whether end panels and crown are in the order. Missing pieces discovered on install day cost weeks.
How long is a kitchen without a sink during the install?
Two to four days of cabinet setting, then one to two weeks waiting for counters while the sink base sits without a top. Where it matters, we set a temporary plywood top with the old sink reconnected so the kitchen works while the slab is fabricated.
Do the uppers really need to go into studs?
Yes, and in Salt Lake City especially. Loaded uppers anchored only to drywall are the first thing to let go in a tremor, and the Wasatch fault runs along the valley’s east bench. We fasten through the hanging rail into every stud the cabinet crosses and add blocking where the layout lands between studs.
What adds the most to kitchen install labor?
The island, usually. It needs floor cleats, utilities through the subfloor, overhang brackets, and finished panels on every exposed side — a cabinet with four faces instead of one. Crown on an uneven ceiling and scribing fillers to plaster walls are next.
Tell us what you’re working on
We reply within a couple of hours during business hours — a day at most. You’ll get a straight read on scope, sequence, and budget before anyone commits to anything.