
Prefab Component Installation
Prefab component installation means setting factory-built pieces — roof trusses, floor trusses, stair systems, engineered beams — accurately inside an otherwise site-built project. Grandview Contractors installs and braces these components across Utah County and the Salt Lake Valley under Utah DOPL B100 license #14282236-5501.
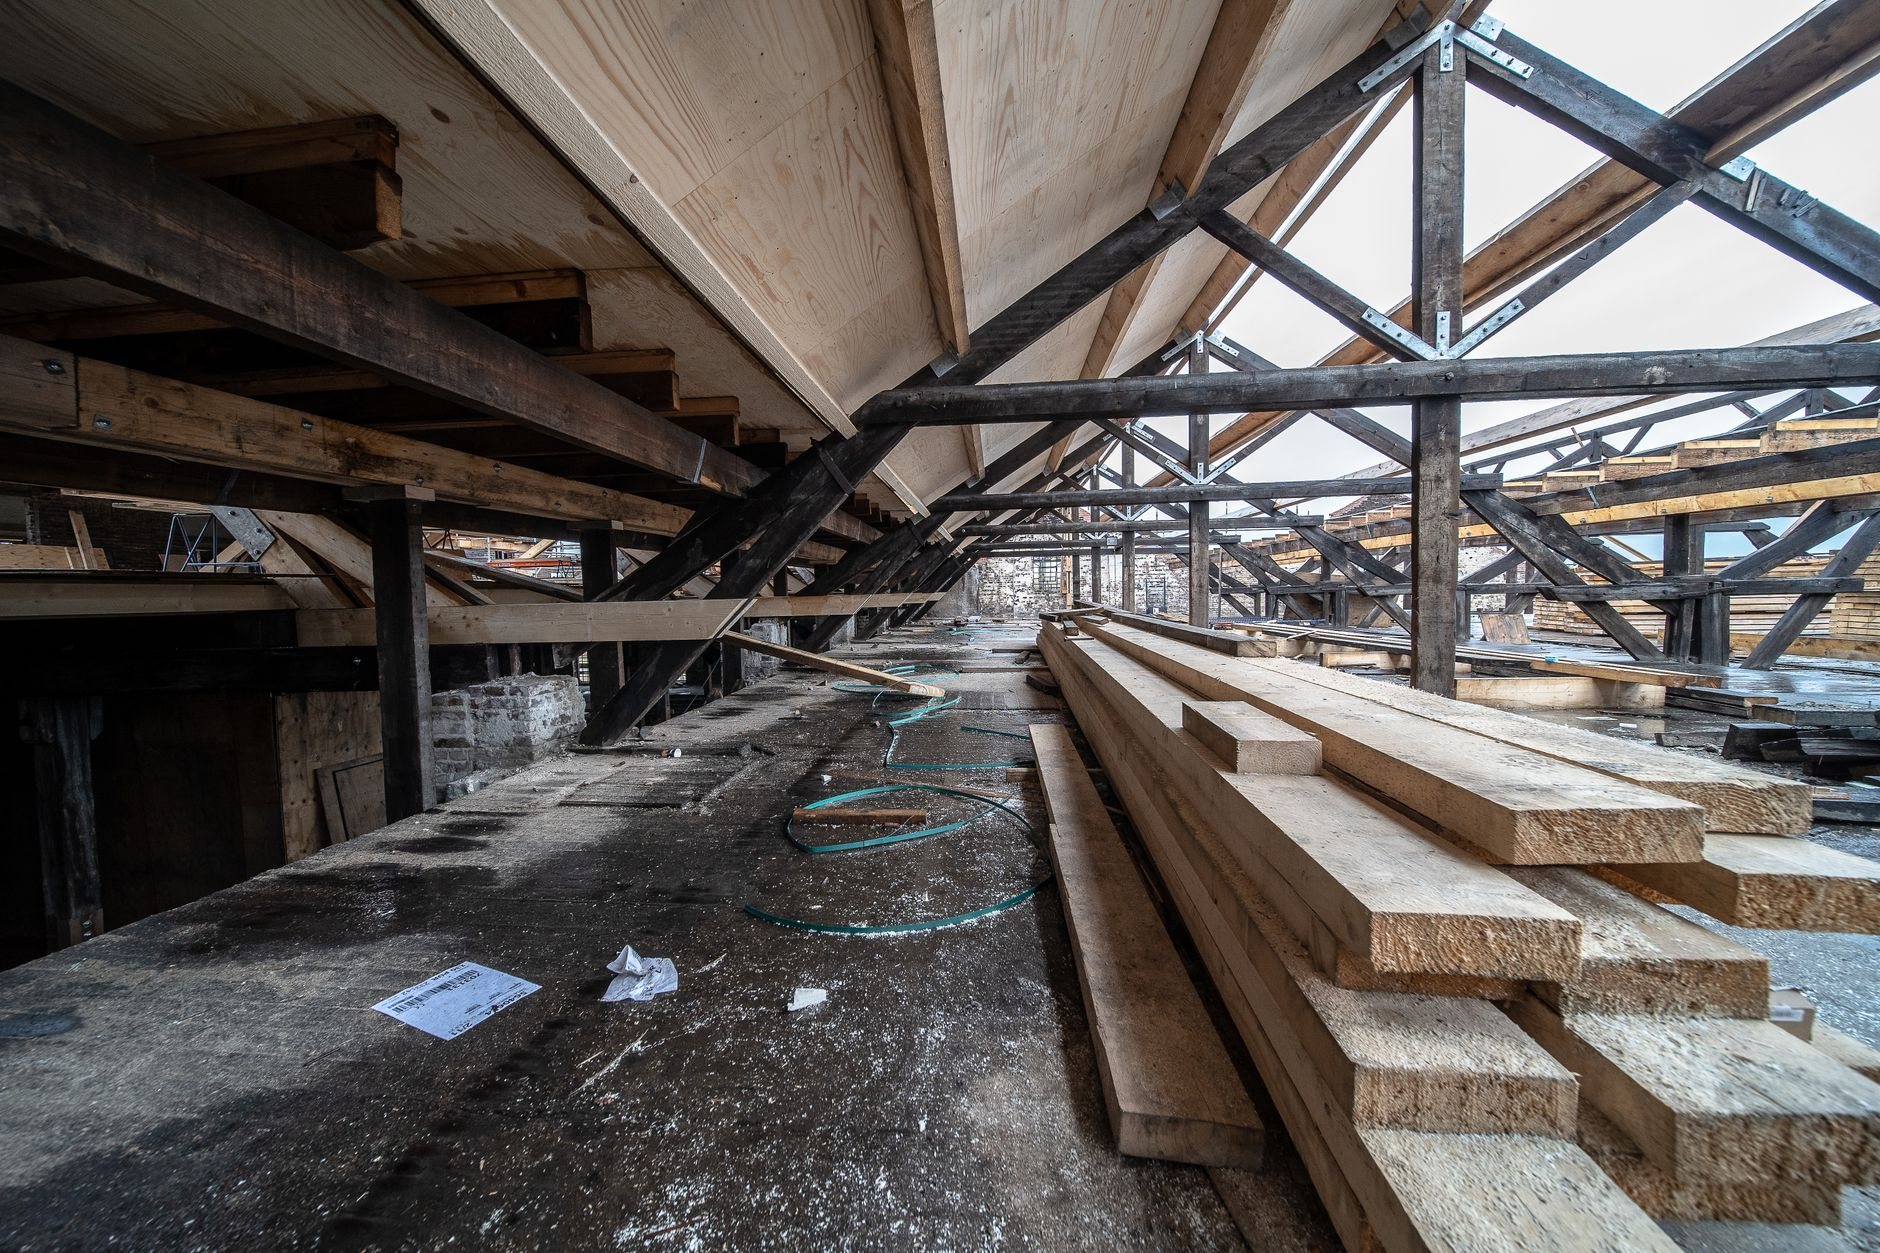
When individual components beat a full prefab system
Most Utah homes already use at least one prefab component — nearly every new roof along the Wasatch Front is framed with factory trusses, not hand-cut rafters. Component installation is the right scope when the rest of the project is conventional: a stick-framed house, garage, or addition where the roof structure, floor system, or stair comes from a plant, engineered and machine-cut.
It’s a different decision than buying a prefab shell. If the entire wall and floor package should be factory-framed, that’s panelized construction. If the envelope itself should be the insulation, look at SIP construction. Starting from a steel box is container-based construction. Components sit below all of those: single engineered pieces dropped into an ordinary build.
The catch: factory precision only pays off if the site work matches it. A stair built to a 1/8-inch tolerance won’t fit an opening framed to a half inch. Setting components is mostly a layout and preparation discipline — which is why it belongs to the general contractor, not the delivery truck.
What component installation actually involves
The pieces vary — roof trusses, open-web floor trusses, I-joist packages, glulam and LVL beams, shop-built stairs — but the sequence is consistent. The plans may change. The standard does not.
- Check the engineering before ordering. Truss packages are engineered to a specified snow load, and along the Wasatch that number climbs with elevation — a bench lot in Alpine or Draper carries a higher design snow load than the Provo valley floor. We confirm loads, bearing points, and girder locations before the plant cuts anything.
- Verify bearing and layout. Wall plates get checked for line, level, and dimension. Beam pockets, hanger locations, and stair openings are laid out to the component, not the other way around.
- Plan the pick. Truss and beam sets usually mean a crane or boom truck: staging, swing radius, power lines, and a weather window. Canyon-wind events along the Wasatch Front can gust hard enough to ground a lift, so set days get a backup date.
- Set and brace to the spec. Temporary lateral bracing goes on as each truss lands, then permanent bracing per the layout sheets — the industry-standard BCSI practices published by the Structural Building Components Association. Unbraced trusses dominoing over is the classic component failure, and it’s entirely preventable.
- Fasten the connections inspectors check. Every hanger, hurricane tie, and hold-down gets the specified fastener in every hole — seismic connection hardware matters in Wasatch fault country. We photograph connections before they’re covered.
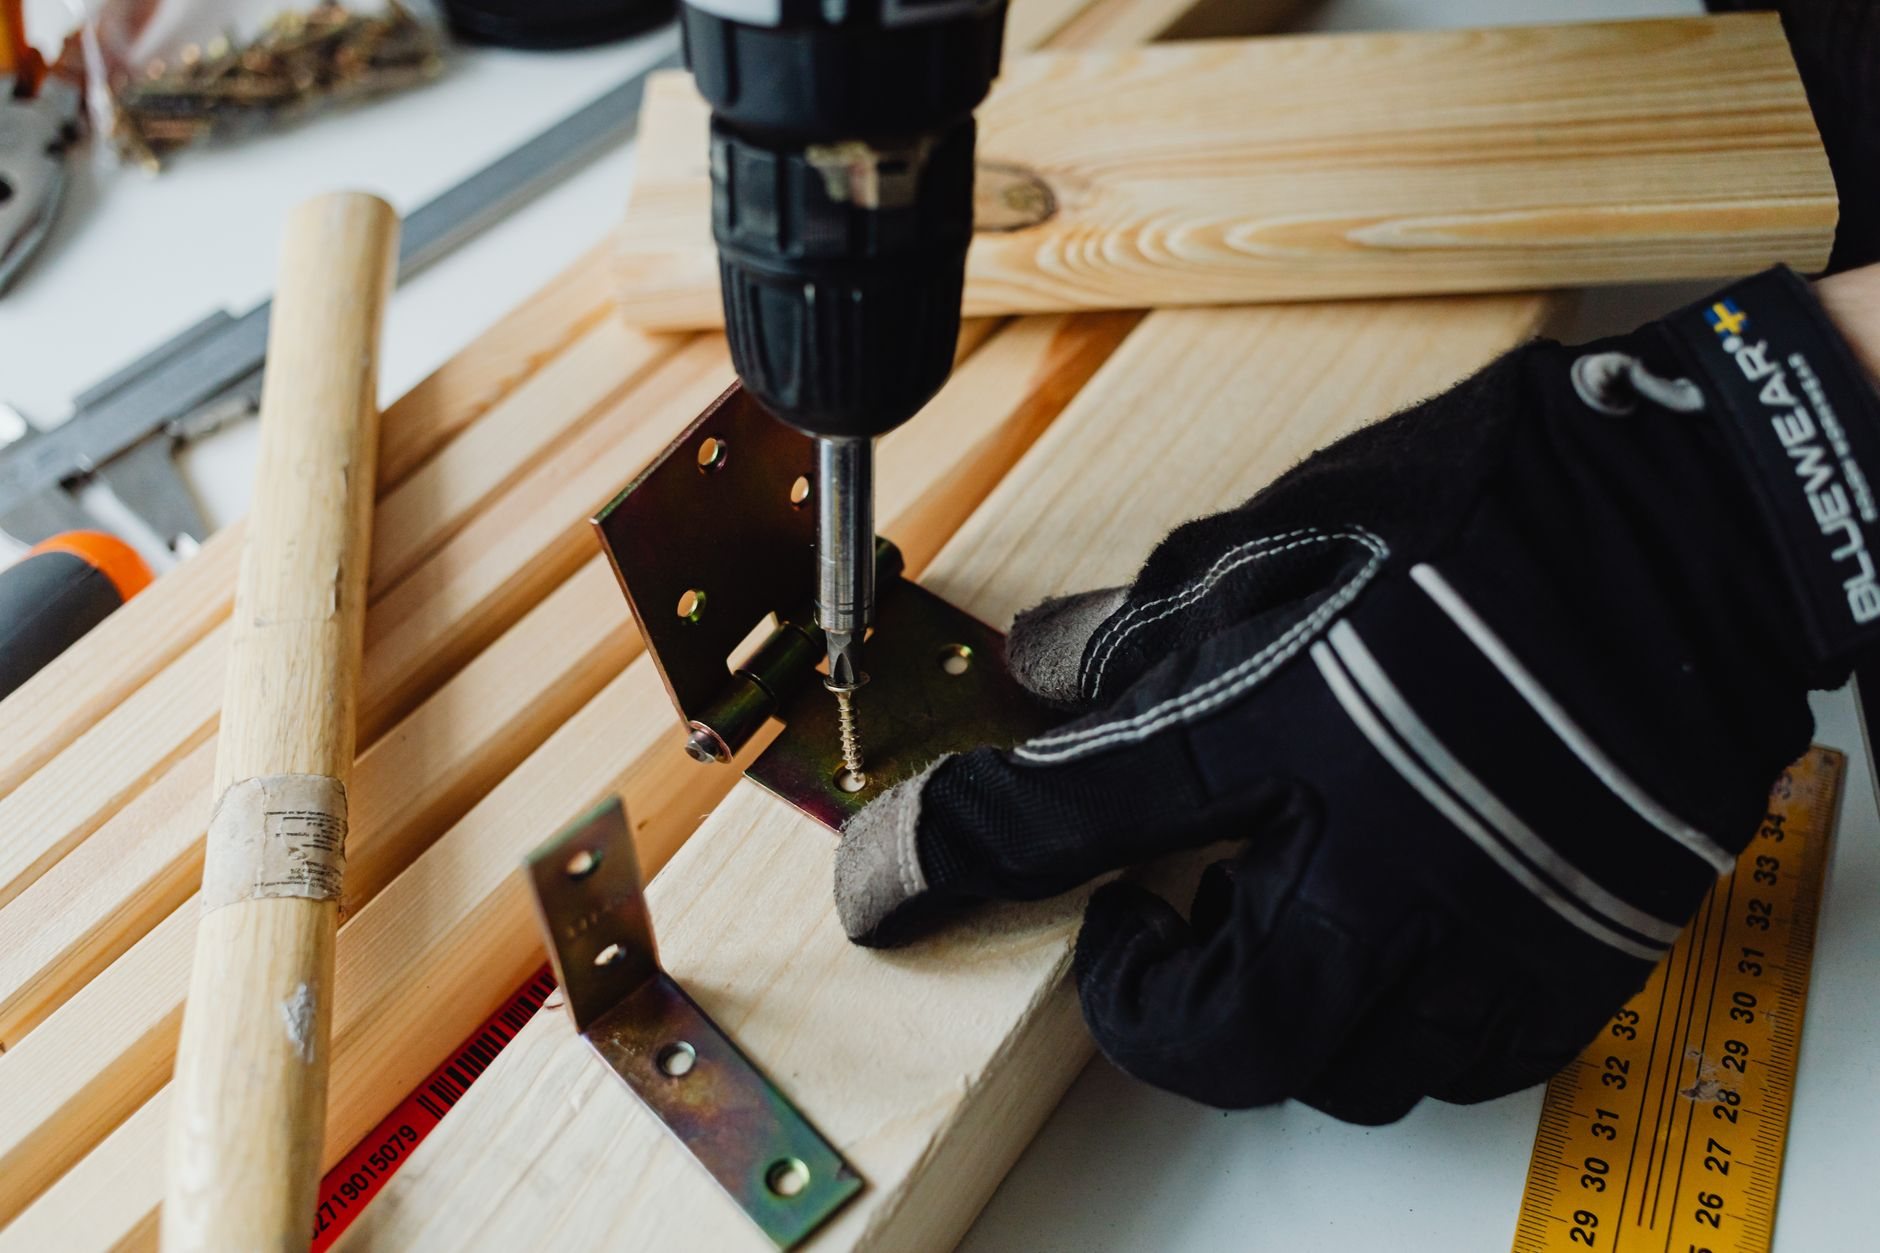
Damaged or field-modified components get the only correct treatment: a repair detail from the component engineer, not a sistered 2×6 and optimism.
Prefab stairs, floor systems, and the fit problem
Stairs are the component where tolerance shows. A shop-built stair arrives as a finished assembly, so floor-to-floor height, opening size, and headroom must be confirmed from the actual framing — not the plans — before the shop builds. Current Utah-adopted code caps riser variation within a flight, and a subfloor 3/4 inch off the drawings turns a legal stair into a failed inspection. We field-measure after the floor system is down, then sign off on the cut sheet.
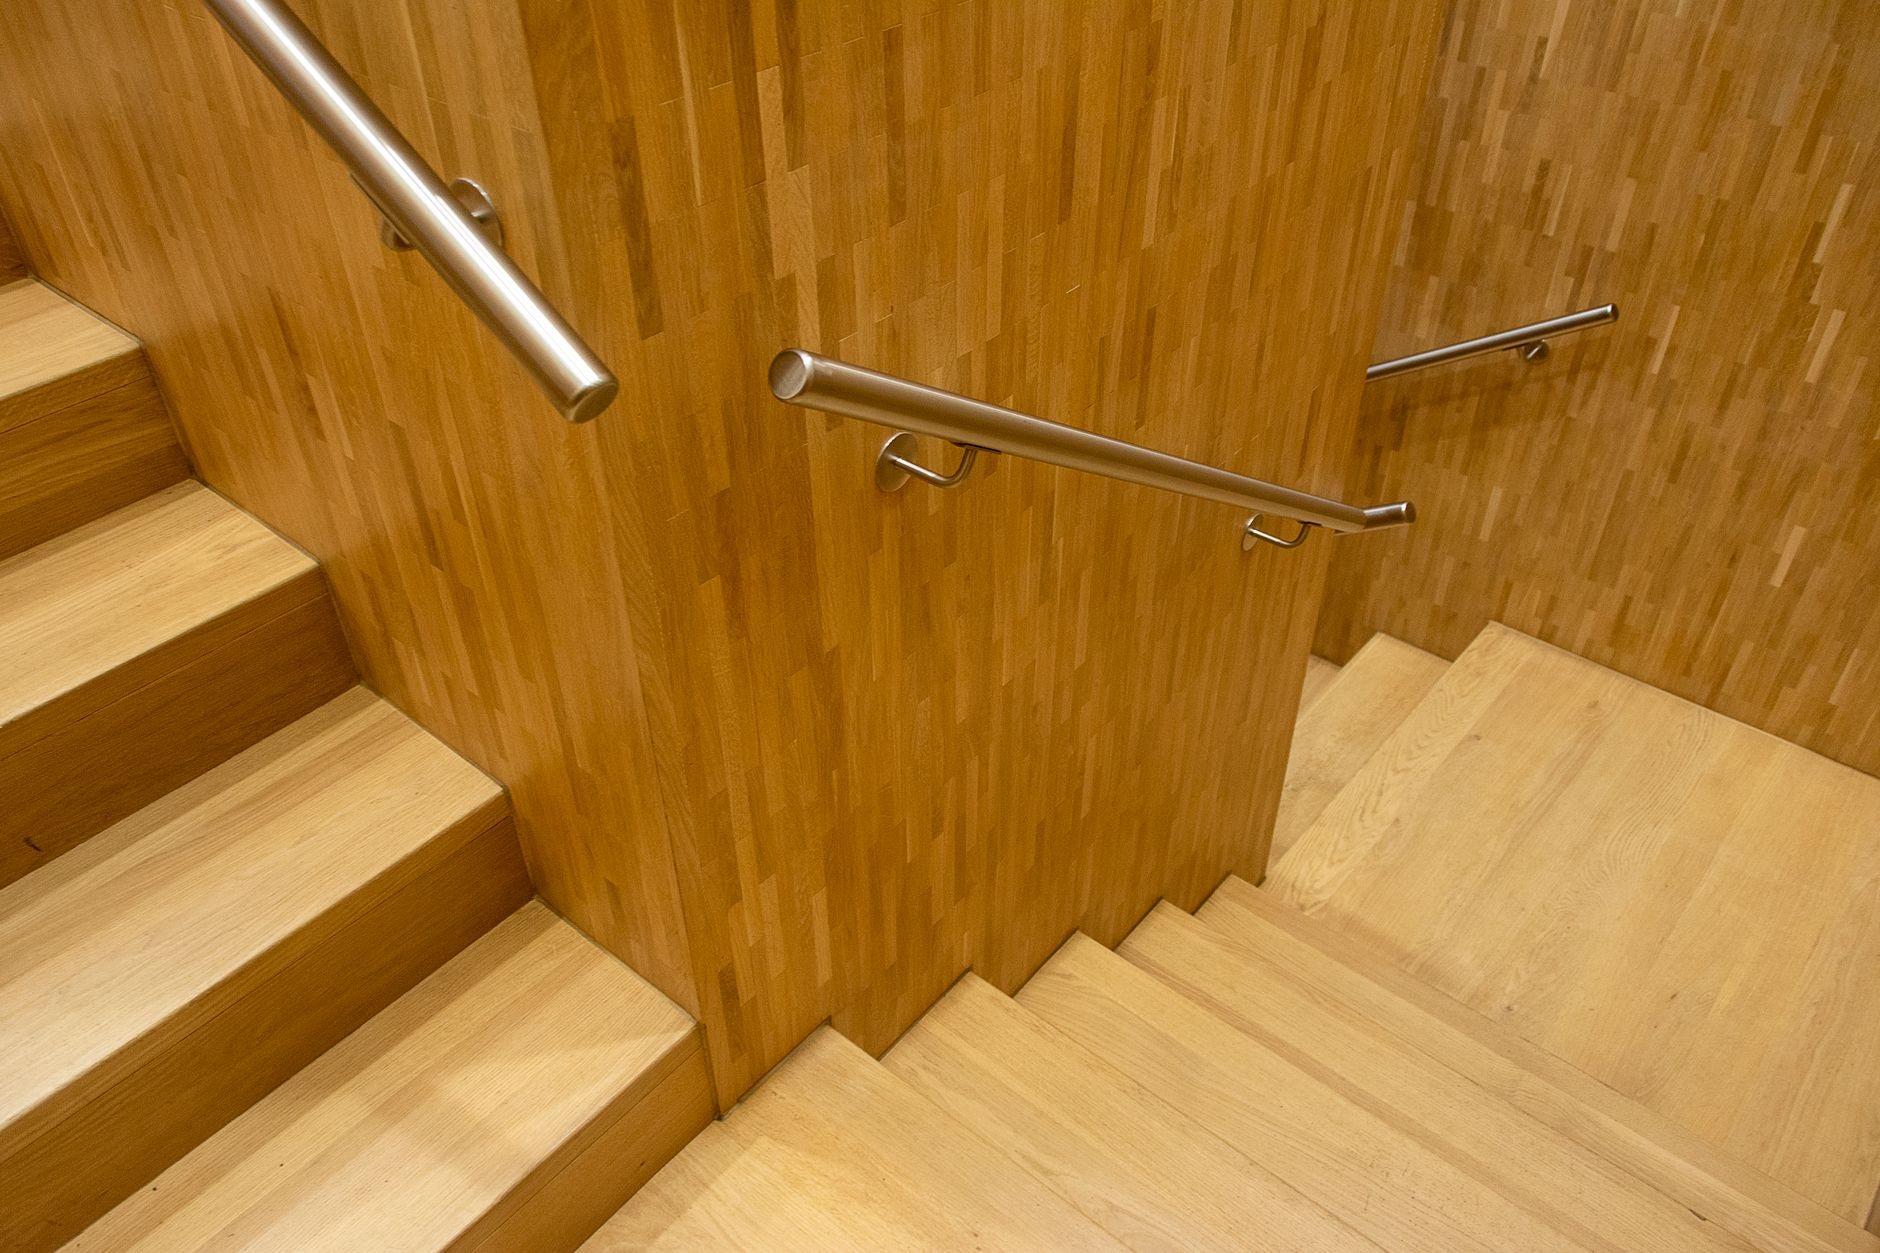
Floor trusses and I-joist packages have their own rules: no field-cutting chords, web holes only where the manufacturer’s chart allows, squash blocks at bearing points. Getting these right during the set is cheap; correcting them after mechanical trades have run through the floor is not. This work runs inside our custom home and garage and shop projects as a matter of course. For the wider menu, start at the new construction hub or the modular and prefab overview.
What drives the cost of component installation in Utah?
As a ballpark planning frame: setting a roof truss package on a typical single-family home is a one-to-two-day operation — crane, crew, and bracing — with the trusses themselves priced separately by the plant. What moves the installation number:
- Crane requirements. A long reach over an existing structure, a tight infill lot, or a bench lot with no staging area raises pick cost quickly.
- Span and complexity. Long-span girder trusses, hips, and valley sets take more rigging time and more bracing than a straight gable run.
- Design snow load. Higher-elevation lots mean heavier members and multi-ply girders that need mechanical lifting.
- Connection hardware. Seismic ties and hold-downs add fastening labor that’s invisible on the lumber quote but real on the schedule.
- Rework risk. Components ordered before framing verification carry the priciest line item of all: waiting on a re-fab.
Questions we actually get
Can you install trusses or a stair package I already bought?
Usually, yes. We’ll want the component drawings and engineering first, then we verify your framing matches them before scheduling the set. If the components were ordered off plans that don’t match the built condition, we’ll tell you what has to change — on the frame or at the plant — before anything gets craned.
What has to be ready before truss set day?
Bearing walls plumb, lined, and braced; layout marked; bracing material and hardware on site; staging and crane access confirmed; a weather window. Wind is the usual spoiler along the Wasatch Front, so we book set days with a fallback date. If the walls aren’t ready, the crane still bills.
A truss got damaged in delivery or cut on site — now what?
Stop and get an engineered repair. Truss plants provide repair details from their engineer for cracked chords, broken plates, or field cuts, and inspectors expect that letter on site. A generic scab repair without engineering can fail your framing inspection and under-serve the load. It’s a days-long fix, not a crisis.
What does it cost to have roof trusses set in Utah?
For a typical single-family package, installation is commonly a low-four-figure to low-five-figure scope depending on crane time, span, roof complexity, and bracing — separate from the truss purchase itself. Treat that strictly as a planning ballpark; access and design snow load swing it. We’ll price it from your truss layout sheets.
Tell us what needs setting
We reply within a couple of hours during business hours — a day at most. Send the component drawings if you have them; you’ll get a straight read on readiness, crane needs, and cost. Our B100 license is verifiable at dopl.utah.gov.