
Stucco re-coat & re-color in Utah County
A stucco re-coat is a new acrylic or cement finish coat over stucco whose base layers are still sound — it restores color, hides map cracking and chalking, and costs a fraction of replacement. Grandview re-coats and re-colors stucco across Utah County and the Salt Lake Valley under a B100 general contractor license.
When a re-coat is the right call, and when it isn’t
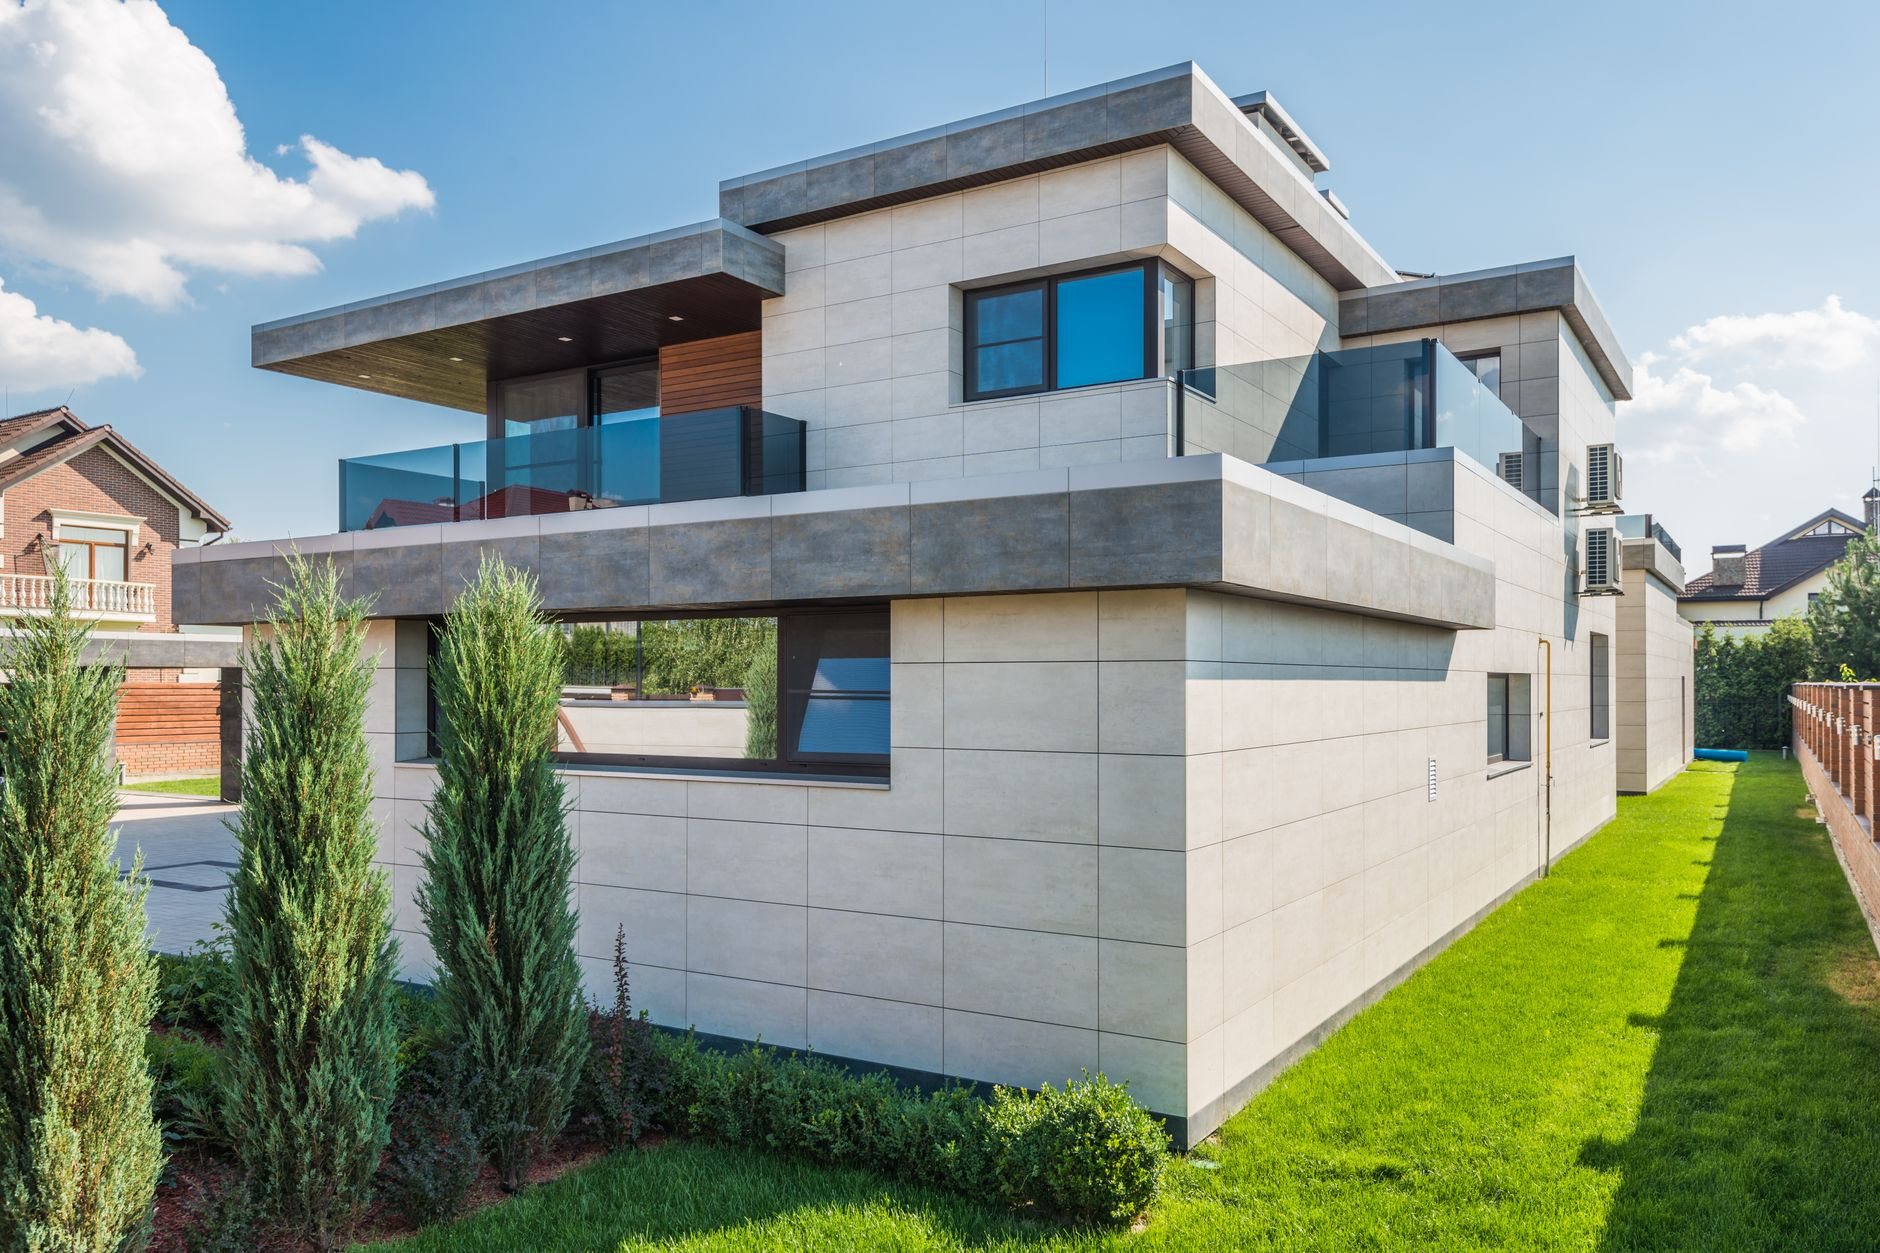
Re-coating is the fix for a wall that is tired but not broken. The typical candidate is fifteen to twenty-five years in: faded unevenly between sun and shade elevations, chalking on your hand, webbed with hairline map cracks — but solid when tapped, unstained below windows, with an open weep screed. A re-coat buys that wall another long stretch of service without touching lath or base coats.
It is the wrong call in three situations. Soft spots, bulges, or rust bleeding through mean water has been behind the finish, and that elevation needs removal and replacement. Localized damage — impact holes, a failed patch, a section cut out for a window swap — gets stucco repair and patching first, with a re-coat to blend it. And wide, stair-stepping, or recurring cracks need stucco crack repair that addresses the cause; a new finish over a moving crack just gives it a fresh surface to reappear in.
Two cousins: Painting stucco is cheaper but builds a film that eventually peels where a true finish coat would not, and elastomeric coatings can trap moisture in a wall that needs to dry outward. A re-coat is a replacement finish, not a paint job.
What a stucco re-coat actually involves
- Sound the wall. Every elevation gets tapped, rag-tested for chalk, and checked at sills, parapets, and the weep screed. What fails here changes the scope before any price exists.
- Wash and neutralize. Low-pressure washing strips chalk and loose finish; efflorescence gets treated so salts don’t bloom through the new coat. Drying takes a day in a Utah July, several in April.
- Prep cracks and patches. Hairlines get an acrylic patching compound; anything wider is routed, filled, and bridged with fiberglass mesh feathered into the field so it won’t telegraph.
- Prime for bond. Acrylic systems need a bonding primer tinted toward the finish color; cement finishes bond to a dampened base without one. We don’t skip the step to save a day.
- Sample, then finish. A sample panel on the least visible elevation locks in texture and color. The finish goes on in continuous passes to natural breaks — corners, control joints, trim lines — so no lap marks.
- Seal and close out. Sealant joints at windows, doors, and dissimilar materials get cut out and re-tooled; a new finish beside a failed joint is money half spent.

Acrylic finish, cement finish, or fog coat?
Three products cover nearly every re-coat, and the existing wall decides which. An acrylic finish coat is the default over acrylic-finished stucco and EIFS: roughly a sixteenth of an inch thick, integrally colored, flexible enough to ride out minor movement, available in sand-float, lace, and dash textures. A cement finish coat suits older three-coat walls never acrylic-coated; it’s harder and more breathable. A fog coat is the lightest option — a pigmented cement wash sprayed over a sound cement finish that restores color without adding thickness. It is quick and inexpensive, but it hides no cracks and will not bond to acrylic.
Color carries a Utah caveat. High-elevation UV is what faded the wall in the first place, and dark pigments fade fastest. Over foam-backed systems, most acrylic finish manufacturers also set a minimum light-reflectance value, because a dark wall in August sun can overheat the foam. We’ll flag any color that pushes those limits, and we’ll tell you if your HOA — standard in Lehi, Saratoga Springs, and Eagle Mountain developments — needs to approve the swatch before material is ordered.
What does a stucco re-coat cost in Utah?
As ballpark planning numbers for the Wasatch Front, an acrylic re-coat over sound stucco commonly lands in the low-to-mid single digits per square foot of wall area; a fog coat runs well under that, and a cement re-coat sits near acrylic. Those are not quotes. The number moves with crack prep, stories and staging, how many openings and corners break up the field, whether sealant joints are replaced, and how far the new color departs from the old — a big shift can take a second pass. Budget range after a site walk; firm estimate once prep scope is confirmed.
Timing matters as much as price. Both finishes need temperatures above roughly 40 degrees through application and cure, and a monsoon cloudburst on a finish applied that morning is a redo, so we schedule re-coats from late spring through early fall and watch August forecasts closely. Our license is verifiable at dopl.utah.gov; for the rest of the shell, see the site, structure & envelope hub or the stucco and EIFS page.
Questions we actually get
Can you re-coat over stucco that has been painted?
Usually, with conditions. The paint must be well bonded — peeling paint gets stripped or sanded back first — and the job becomes an acrylic re-coat over a bonding primer, since cement finishes and fog coats won’t adhere to paint. A small adhesion test settles it before we commit.
Will a re-coat hide the hairline cracks for good?
A properly prepped acrylic re-coat hides map cracking and keeps it hidden, because the finish is flexible and the cracks were filled first. What it can’t hold back is movement: a crack driven by settlement or a flashing leak will reappear, which is why those get routed to a real repair before any finish goes on.
How long does a re-coat take on a typical house?
For a two-story home with ordinary access, plan on roughly a week: a day to wash, a day or more to dry, one to two days of crack prep and sealant work, two days for primer and finish. Drying is the variable — longer in spring, shorter in summer.
What makes one re-coat quote much cheaper than another?
Almost always prep. A low number often means a fog coat or thin finish over a wall that wasn’t washed, patched, or primed — fine for a season, then failing in the first freeze–thaw winter. Ask what crack prep, primer, and sealant replacement are included, and ask to see the sample panel first.
Tell us what the wall looks like
Send a few photos of the faded elevations and we’ll give you a straight read on whether a re-coat will honestly do the job. We reply within a couple of hours during business hours, a day at most.