
Baseboard & casing installation in Utah County
Baseboard and casing installation replaces or adds the trim at the floor line and around every door and window opening — the two profiles that decide how finished a room reads. Grandview Contractors installs baseboard and casing across Utah County and Salt Lake County under a Utah DOPL B100 general contractor license, one room or the whole house.
When baseboard and casing is the job — and when it isn’t
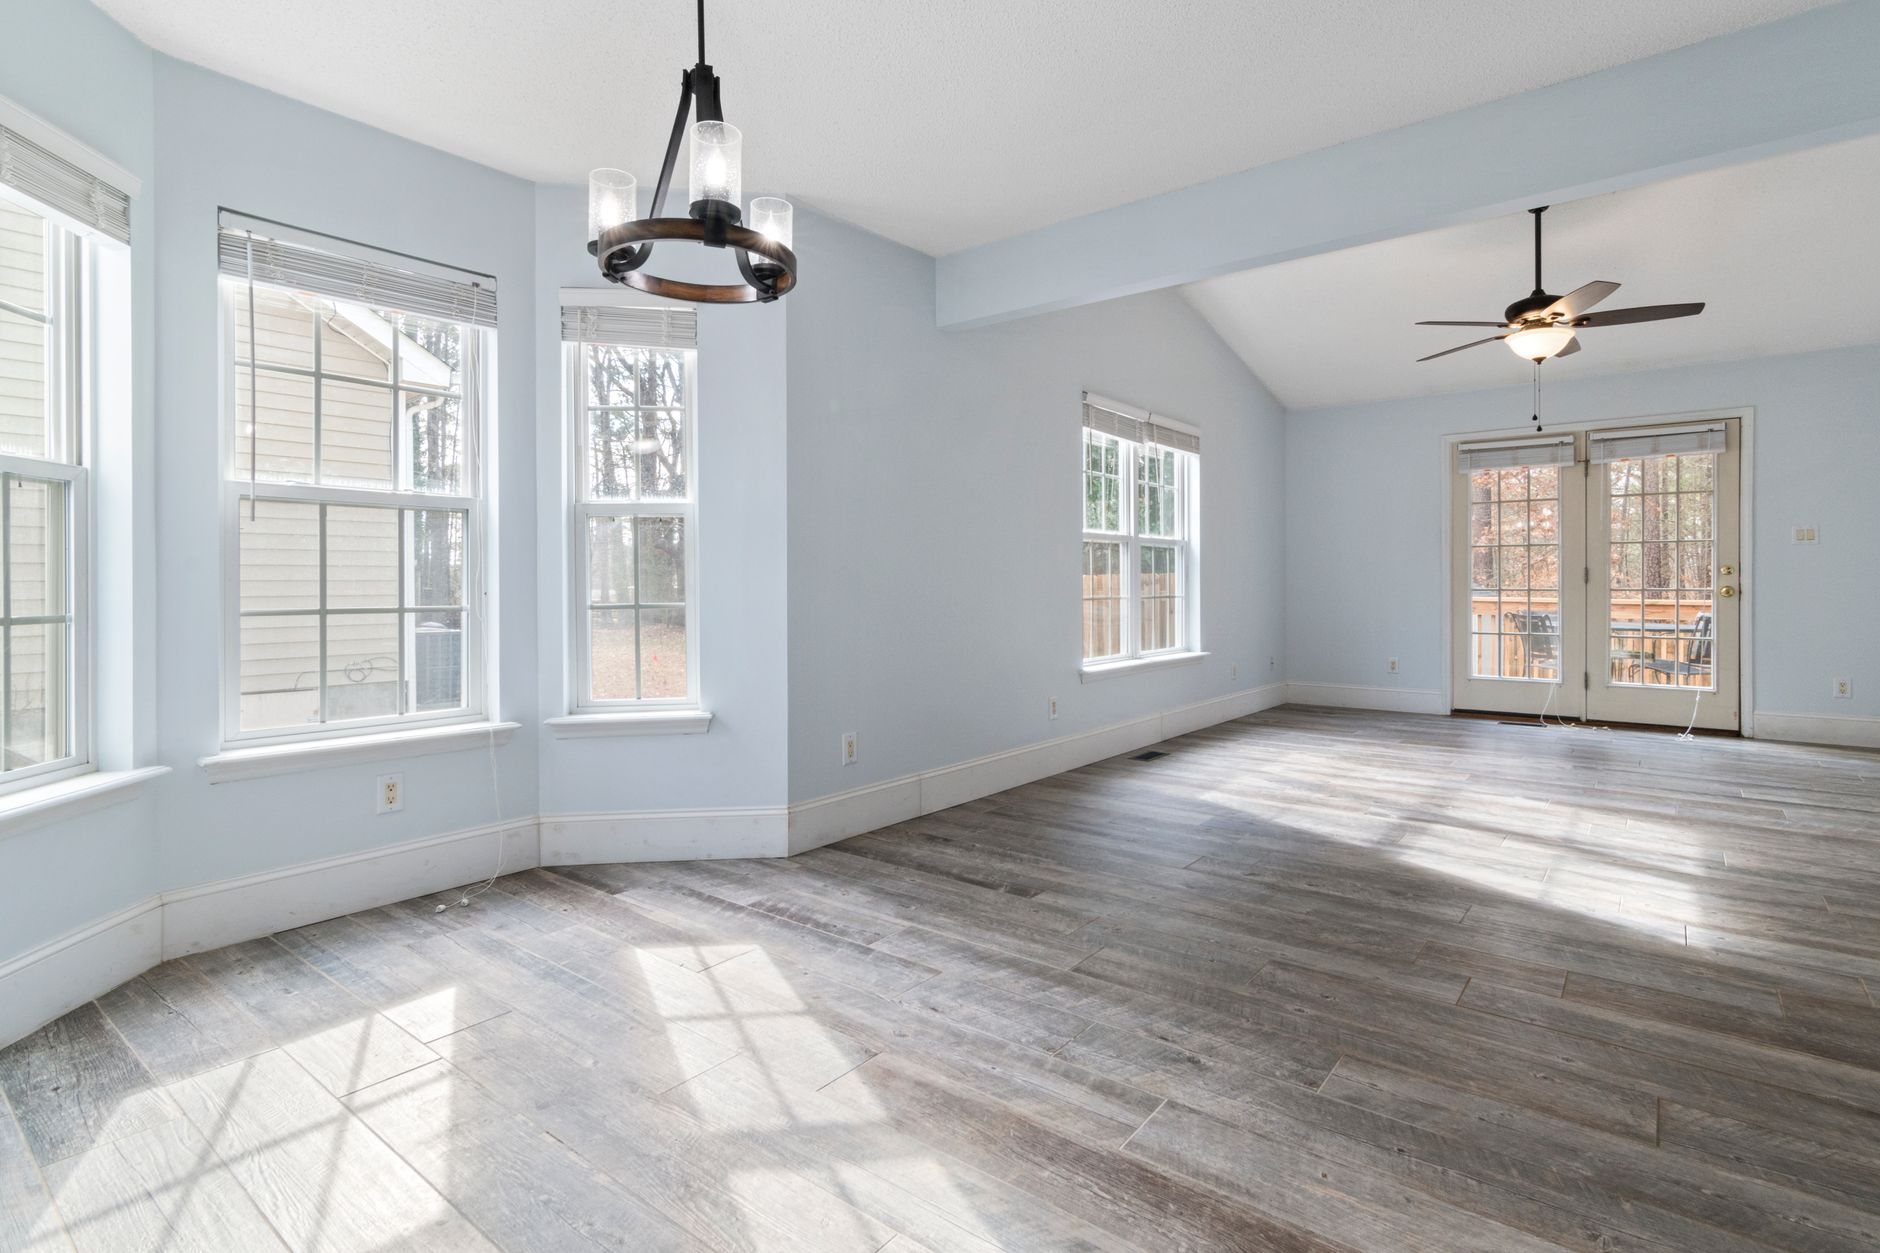
This is the right page if your trim problem lives at the floor or around the openings. The usual triggers: new flooring went in and the old 3¼-inch base no longer covers the expansion gap; a builder-grade home in Lehi, Saratoga Springs, or Eagle Mountain came with the thinnest casing the production schedule allowed; or a remodel moved doors and the new jambs are bare. Baseboard and casing are the fastest trim upgrade in the house — straight runs and standard openings, no ceiling layout, no panel grid.
If the goal is molding at the ceiling line, that’s crown molding — different profile, different cuts. Stairs are their own animal: the skirtboard and the base that climbs it are scribed to every tread, so stair trim and skirtboards get a separate scope. Deeper window treatment — stools, aprons, extension jambs, full picture-frame surrounds — lives on window and door trim. Most whole-home packages combine two or three of these under one contract through our trim and millwork service.
Choosing baseboard height, casing width, and material
Scale comes first. Builder-standard base is 3¼ inches; 5¼-inch base suits most 8- and 9-foot rooms, and 7¼-inch holds its own under 10-foot ceilings. Casing should read a step lighter than the base — 3½-inch casing over 5¼-inch base is the proportion most people mean when they say the house looks “builder grade.” For more presence without a wider board, a stacked base (flat board plus separate cap) or a plinth block at each door leg adds depth and gives the base a clean place to die into the casing.
Material is the second call. Pre-primed MDF is the standard for paint-grade base and casing: straight, knot-free, and cheaper than any solid wood. Finger-jointed primed pine holds nails better and takes edge abuse in hallways and mudrooms. Poplar is the paint-grade hardwood when kids, dogs, and vacuum heads are the design brief. Stain-grade oak, alder, or maple belongs where grain is the point, and it acclimates on site before it’s cut. That matters here: Wasatch Front interiors swing from swamp-cooled summer humidity to furnace-dried January air, and solid base can shrink enough across its width to open an outside miter that wasn’t glued.
How we install baseboard and casing
- Measure and count. Linear feet of base by room, openings, inside and outside corners, and what old trim is coming off. We check floors for level and jambs for whether they sit proud or shy of the drywall.
- Remove the old trim. Score the caulk line, pull base and casing without tearing drywall paper, and patch what the builder’s nails did. Skipping the patching is why so many replacement jobs look wavy.
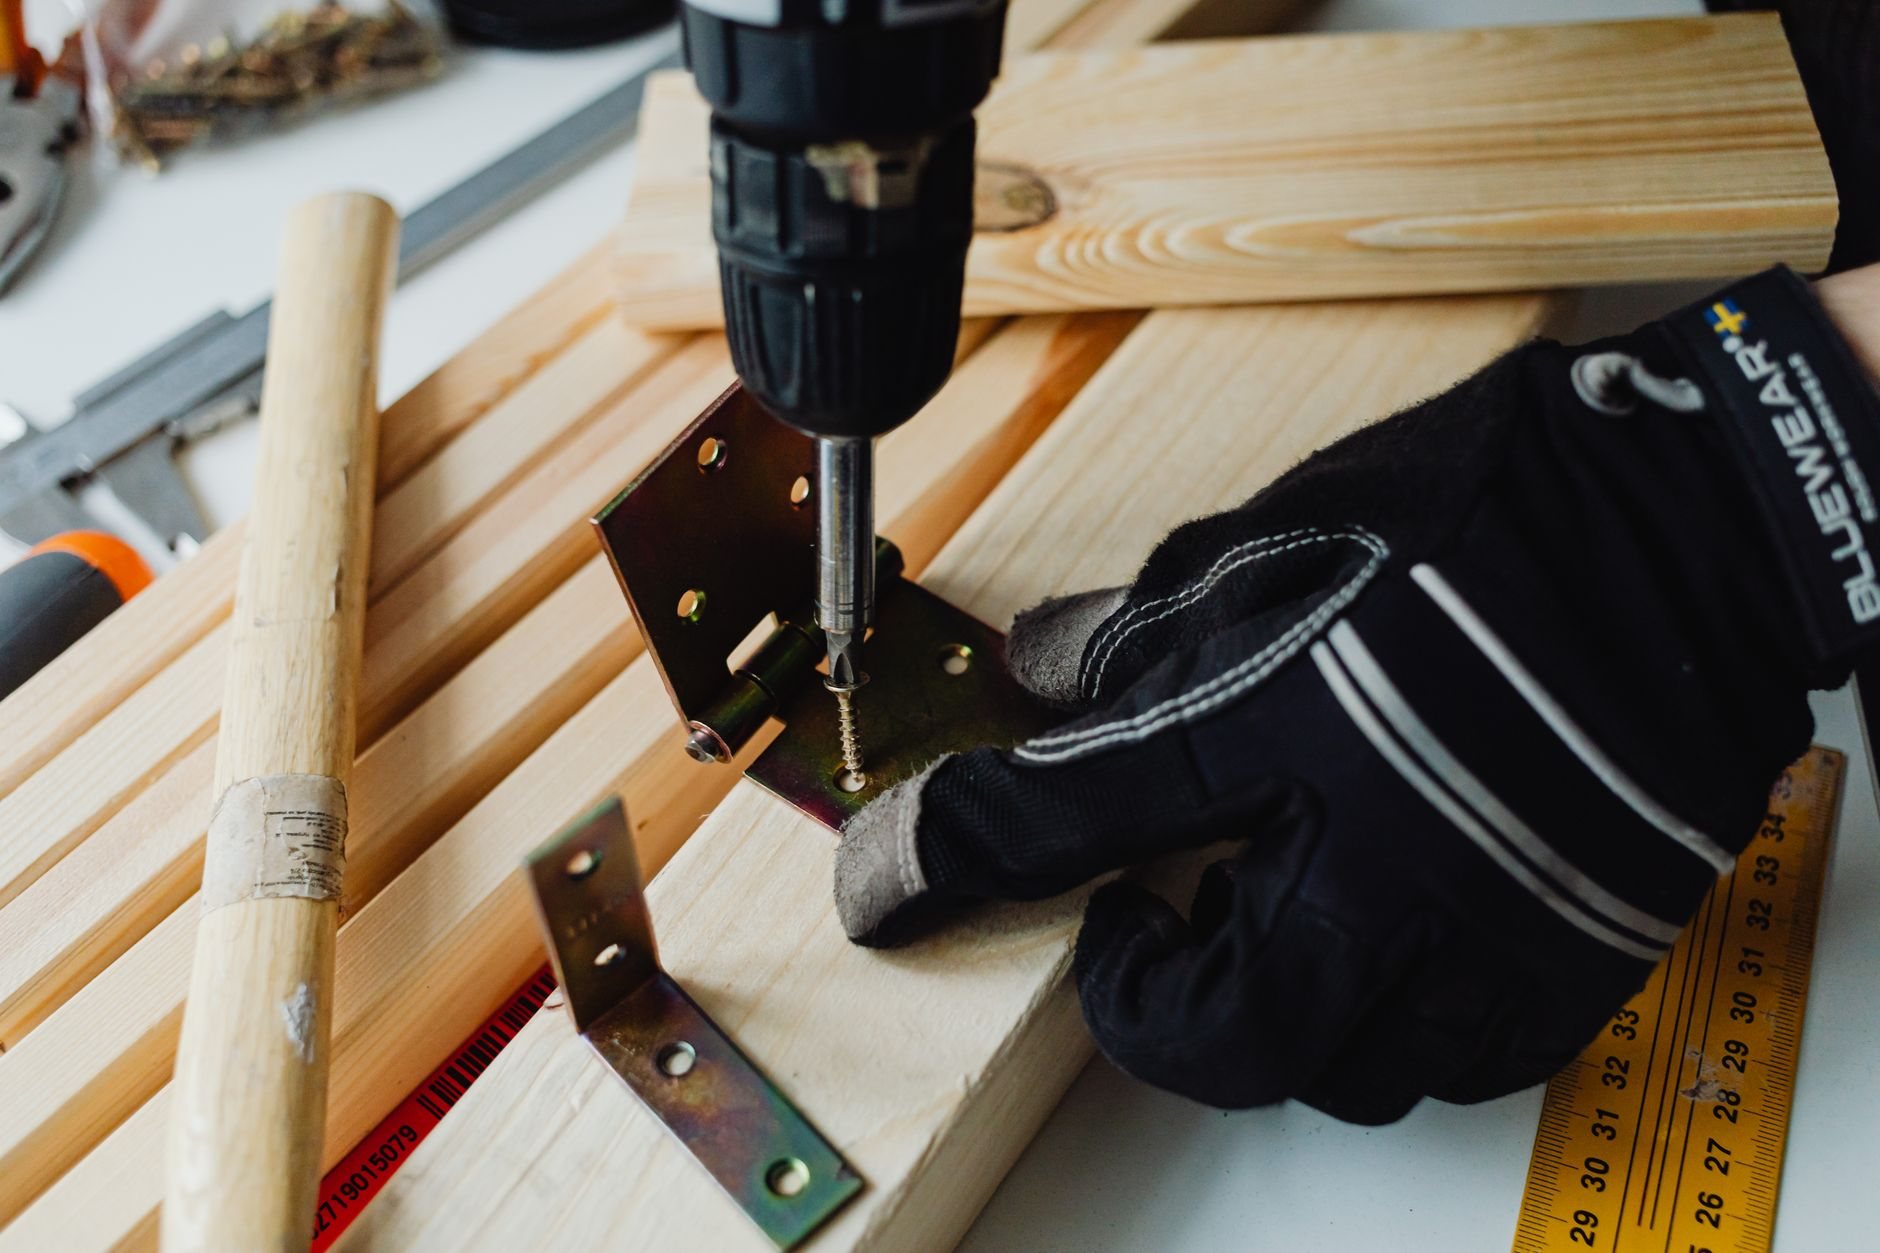
- Casing first. Door and window casing goes on before the base, set to a consistent 3/16-inch reveal on the jamb. Mitered corners are glued and pinned through the joint; where jambs sit shy of thick drywall, we add extension jambs rather than bending the casing to meet them.
- Baseboard second. Inside corners are coped, not mitered, so they stay tight when the wood moves. Outside corners are mitered, glued, and nailed. Base is fastened into the bottom plate and studs with a 16-gauge nailer and scribed to the floor where it has settled — common in older Provo and Orem homes.
- Shoe or no shoe. Over hardwood, laminate, or vinyl plank, shoe mold covers the flooring’s expansion gap. Over carpet, the base is held about 3/8 inch off the subfloor so the edge tucks under. Over tile, the base is scribed and needs no shoe.
- Fill, caulk, hand off. Nail holes filled, joints sanded, the wall line caulked, and a clean handoff to interior painting — or your painter. Good work should not require detective work.
Baseboard goes in after the floor and before final paint. If we’re also running your flooring, the two are scheduled back to back so the base is cut to the floor that’s actually there. If a moved door needs a new jamb or a wall needs patching first, that’s handled under the same contract as part of your renovation.
What does baseboard installation cost in Utah County?
As a planning ballpark — not a quote — paint-grade baseboard installation in Utah County typically runs $5–$12 per linear foot installed, including removal of the old base. Paint-grade door or window casing commonly lands around $100–$250 per opening before paint. Stain-grade hardwood can roughly double material cost and adds finishing labor.
What moves the number: profile height and material grade; mitered casing versus plinth and rosette blocks; the count of outside corners and closets; and how much existing trim comes off. A squared-up 2015 Vineyard townhome installs fast. A 1940s Provo bungalow where no floor is level and no jamb is plumb takes scribing time, and we’ll say so at the walk-through. You’ll get a budget range at consultation, then an estimate, then a fixed proposal. Our B100 license is verifiable at dopl.utah.gov.
Questions we actually get
Should baseboard go in before or after new flooring?
After, in almost every case. Hard flooring needs an expansion gap at the wall, and the base or shoe mold covers it. Carpet is the exception: the base goes on first, held about 3/8 inch above the subfloor, and the carpet installer tucks the edge beneath it. If both trades are on the job, we sequence them so neither waits.
Can you keep my existing casing and just replace the baseboard?
Yes, if the proportions still work. A tall 5¼-inch base against thin 2¼-inch casing looks top-heavy at the door legs. A plinth block at each leg solves it without new casing — the base dies into the block instead of trying to match a profile it never will.
Do I need quarter round or shoe mold?
Only over hardwood, laminate, or vinyl plank, where the flooring’s expansion gap needs covering. Shoe mold is a smaller, taller profile that looks less like an afterthought than quarter round. Over tile or carpet we scribe or hold the base instead, so there’s no extra piece at all.
Why did my old miters open up in winter?
Utah’s furnace-dried winter air shrinks wood across its width, and a mitered outside corner opens at exactly that angle. The usual causes are unacclimated stock and corners held by caulk instead of glue. We acclimate solid stock on site, glue and pin every outside miter, and cope inside corners so seasonal movement stays invisible.
Tell us what you’re working on
We reply within a couple of hours during business hours — a day at most. You’ll get a straight read on scope, sequence, and budget before anyone commits to anything.